Self-Host Open-WebUI with Groq, Docker, and HTTPS on Ubuntu 24.04
This guide will walk you through setting up your own instance of Open-WebUI, a user-friendly web interface for LLMs. We will use the fast Groq API as the AI backend and secure the connection with HTTPS using a custom domain.
Prerequisites
Before you begin, you will need:
- An Ubuntu 24.04 server: A fresh VPS or dedicated server is recommended.
- A domain name: You should have a registered domain name (e.g., chat.mydomain.com).
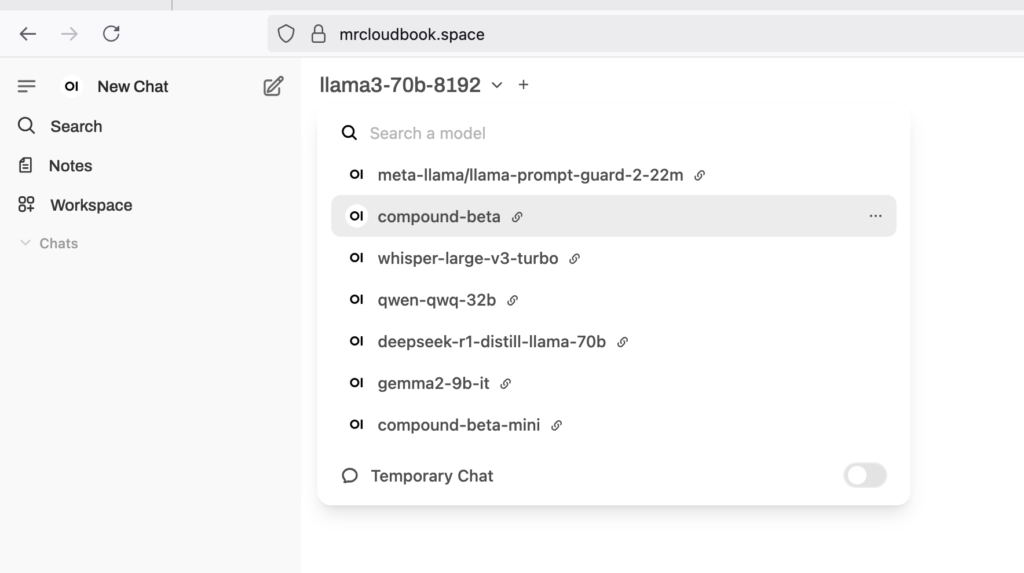
- A Groq account and API key: You can get this for free from GroqCloud.
Step 1: Point Your Domain to the Server IP
You need to create a DNS record that points your chosen domain or subdomain to your server’s public IP address.
- Log in to your domain registrar’s or DNS provider’s dashboard.
- Go to the DNS management section for your domain.
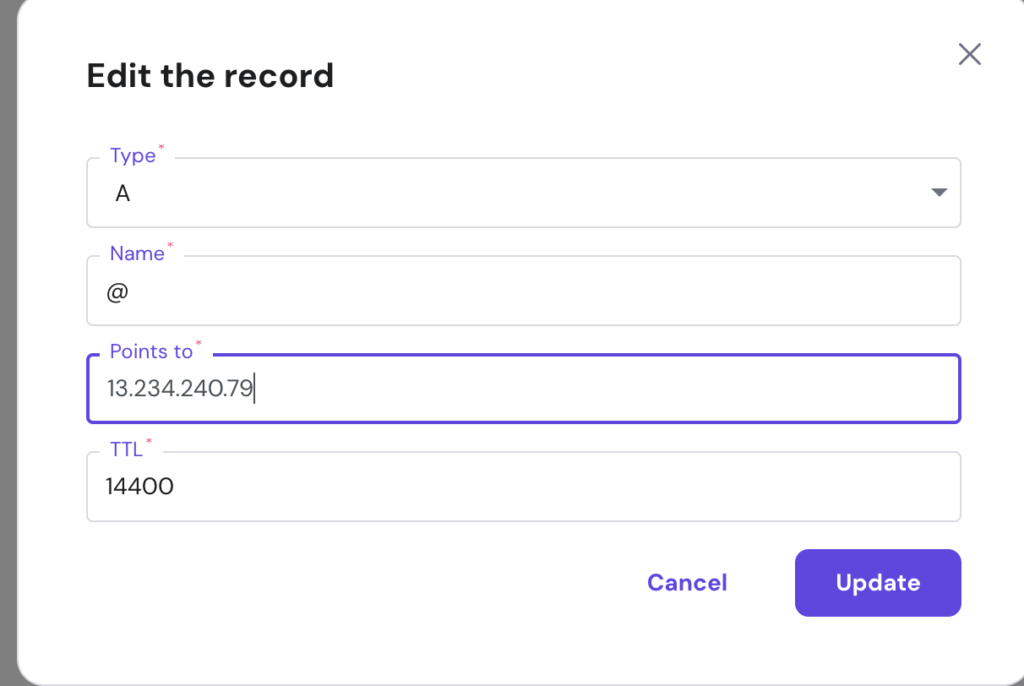
- Create a new A record with the following details:
- Host/Name: Your chosen subdomain (e.g., chat) or @ if you are using the root domain.
- Value/Points to: The public IP address of your Ubuntu server.
- TTL (Time To Live): You can leave this at the default value.
Wait for the DNS changes to propagate, which can take anywhere from a few minutes to a few hours.
My case Iam using Hostinger
Step 2: Install Docker and Docker Compose
Connect to your Ubuntu server via SSH and run the following commands to install Docker and Docker Compose.
ssh -i ~/path/to/pem ubuntu@serverip
ssh root@Server-ip
Install latest version of Docker and Docker compose
sudo apt update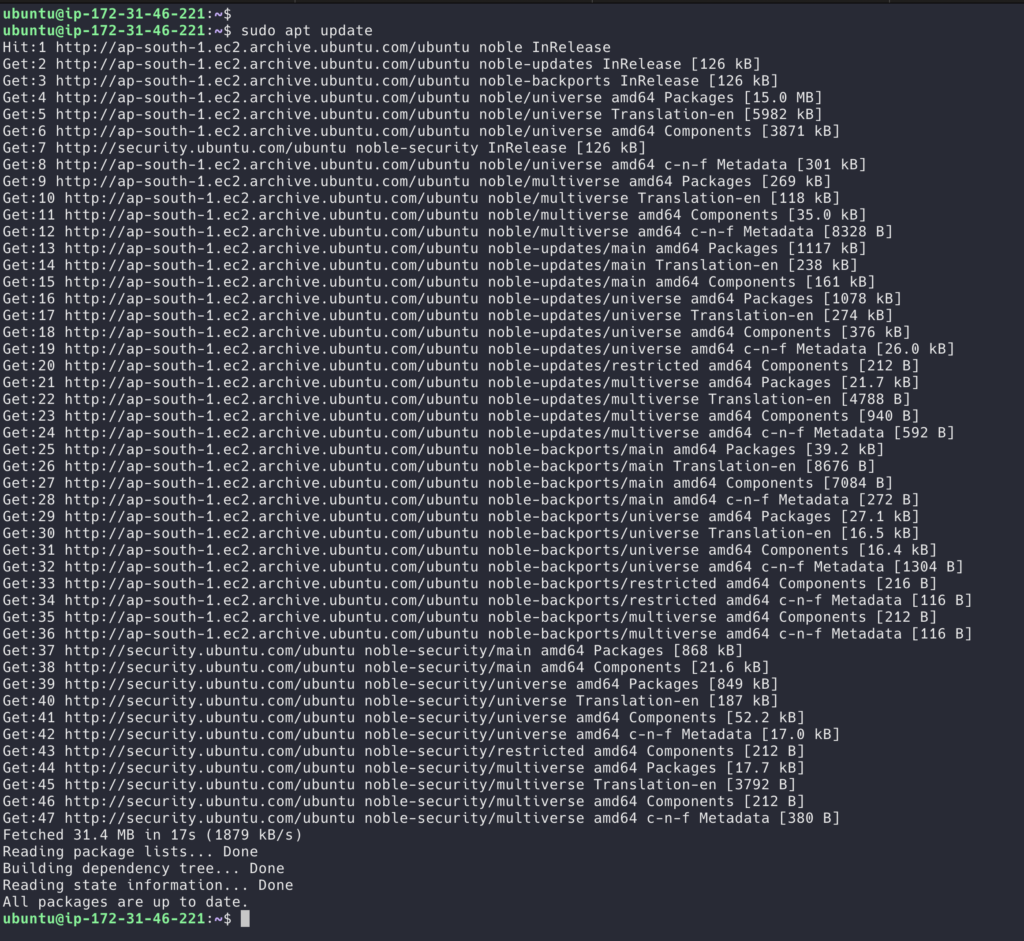
Install Docker on Ubuntu
# Add Docker's official GPG key:
sudo apt-get update
sudo apt-get install ca-certificates curl
sudo install -m 0755 -d /etc/apt/keyrings
sudo curl -fsSL https://download.docker.com/linux/ubuntu/gpg -o /etc/apt/keyrings/docker.asc
sudo chmod a+r /etc/apt/keyrings/docker.asc

# Add the repository to Apt sources:
echo \
  "deb [arch=$(dpkg --print-architecture) signed-by=/etc/apt/keyrings/docker.asc] https://download.docker.com/linux/ubuntu \
  $(. /etc/os-release && echo "${UBUNTU_CODENAME:-$VERSION_CODENAME}") stable" | \
  sudo tee /etc/apt/sources.list.d/docker.list > /dev/null
sudo apt-get update
sudo apt-get install docker-ce docker-ce-cli containerd.io docker-buildx-plugin docker-compose-plugin -y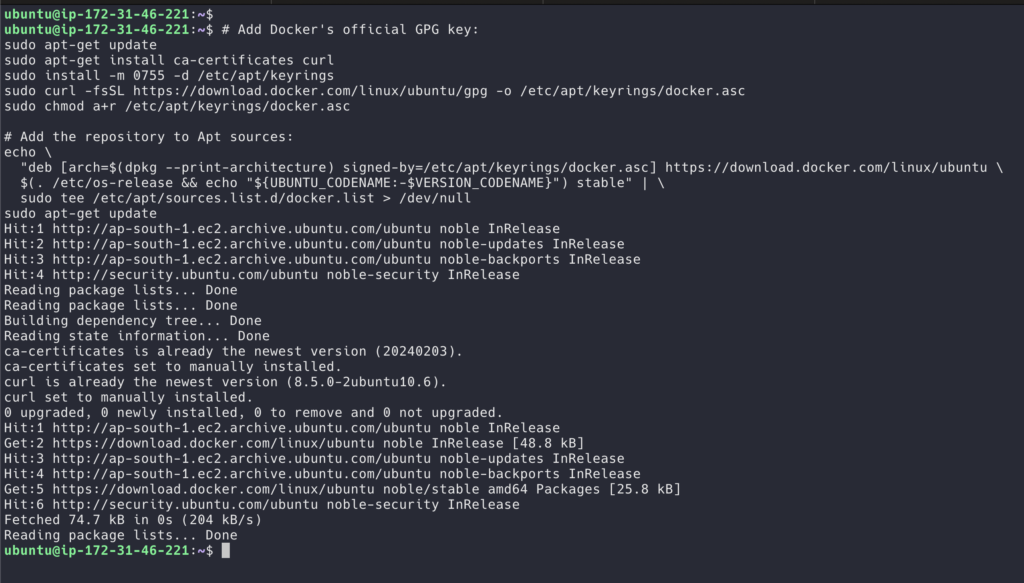

Check docker and compose version
docker --version
docker compose --version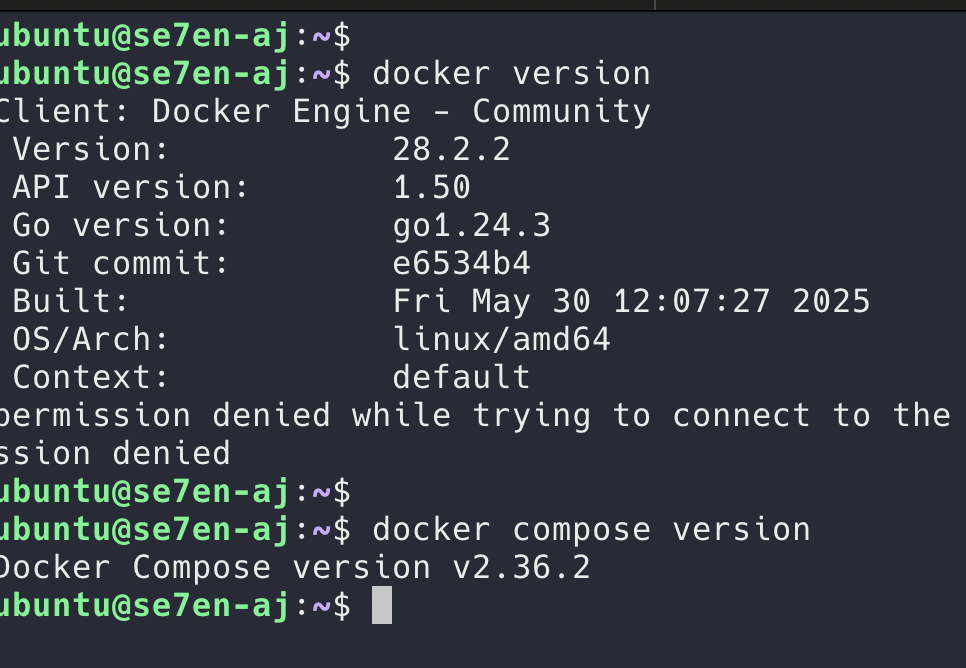
To run Docker commands without sudo, add your user to the docker group. You’ll need to log out and log back in for this change to take effect.
sudo usermod -aG docker ubuntu
newgrp docker
Step 3: Create Groq Free API key
NOTE : Free API key not supports All models
- Go to browser and search for groq.com
- Click on Hamburger

3. Click on Developers –> FREE API KEY

4. Login with Google
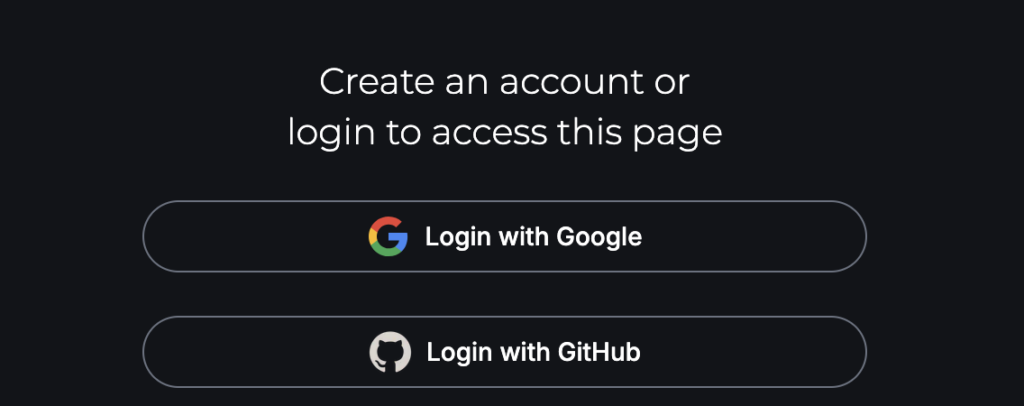
5. Once after login click on API keys

6. Create one API key
7. Save it Safe place
Step 4: Deploy OpenWEBUI with Traefik and Groq
Let’s add required .env for the application
# Your domain name
DOMAIN=chat.exampple.com

# The email for your SSL certificate notifications
ACME_EMAIL=postbox.aj99@gmail.com

# Your Groq API Key
OPENAI_API_KEY=your_groq_api_key_here

# Your Open-WebUI admin credentials
ADMIN_EMAIL=postbox.aj99@gmail.com
ADMIN_PASSWORD=a_very_strong_password
FUN FACT : KEY IS REVOKED
Let’s Create simple Docker compose file
vi docker-compose.yml
Let’s add this compose
version: '3.8'

services:
  traefik:
    image: "traefik:v3.0"
    container_name: "traefik"
    command:
      - "--log.level=INFO"
      - "--api.insecure=true"
      - "--providers.docker=true"
      - "--providers.docker.exposedbydefault=false"
      - "--entrypoints.web.address=:80"
      - "--entrypoints.websecure.address=:443"
      - "--entrypoints.web.http.redirections.entrypoint.to=websecure"
      - "--entrypoints.web.http.redirections.entrypoint.scheme=https"
      - "--certificatesresolvers.myresolver.acme.httpchallenge=true"
      - "--certificatesresolvers.myresolver.acme.httpchallenge.entrypoint=web"
      - "--certificatesresolvers.myresolver.acme.email=${ACME_EMAIL}"
      - "--certificatesresolvers.myresolver.acme.storage=/letsencrypt/acme.json"
    ports:
      - "80:80"
      - "443:443"
      - "8080:8080" # Traefik Dashboard (optional)
    volumes:
      - "/var/run/docker.sock:/var/run/docker.sock:ro"
      - "traefik-data:/letsencrypt"
    networks:
      - web-proxy

  open-webui:
    image: 'ghcr.io/open-webui/open-webui:main'
    container_name: open-webui
    restart: always
    environment:
      - OPENAI_API_KEY=${OPENAI_API_KEY}
      - 'OPENAI_API_BASE_URL=https://api.groq.com/openai/v1'
      - ADMIN_EMAIL=${ADMIN_EMAIL}
      - ADMIN_PASSWORD=${ADMIN_PASSWORD}
    volumes:
      - 'open-webui-data:/app/backend/data'
    networks:
      - web-proxy
    labels:
      - "traefik.enable=true"
      - "traefik.http.routers.open-webui.rule=Host(`${DOMAIN}`)"
      - "traefik.http.routers.open-webui.entrypoints=websecure"
      - "traefik.http.routers.open-webui.tls.certresolver=myresolver"
      - "traefik.http.services.open-webui.loadbalancer.server.port=8080"

volumes:
  traefik-data:
  open-webui-data:

networks:
  web-proxy: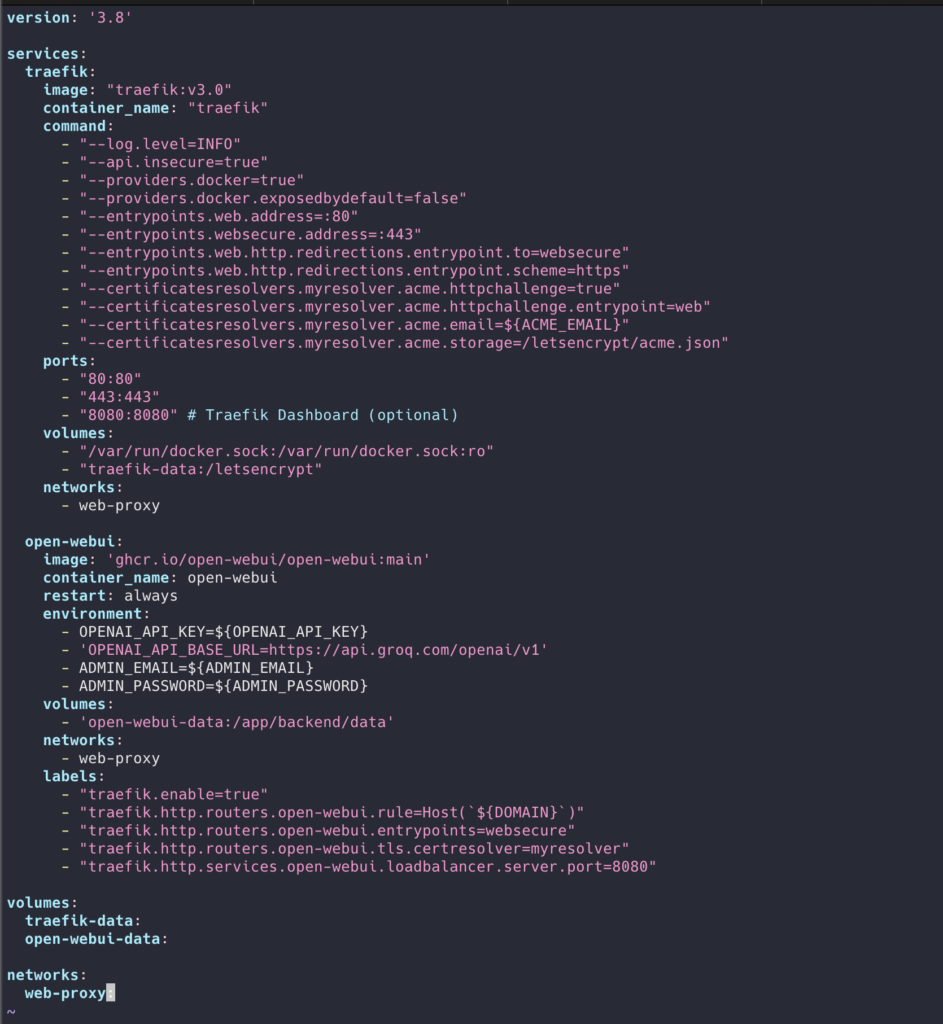
Create an Empty File for SSL Certificates
Traefik needs a file to store your SSL certificate information. Create an empty file named acme.json and give it the correct permissions. Run these two commands in your server’s terminal:
touch acme.json
chmod 600 acme.json
Launch Everything
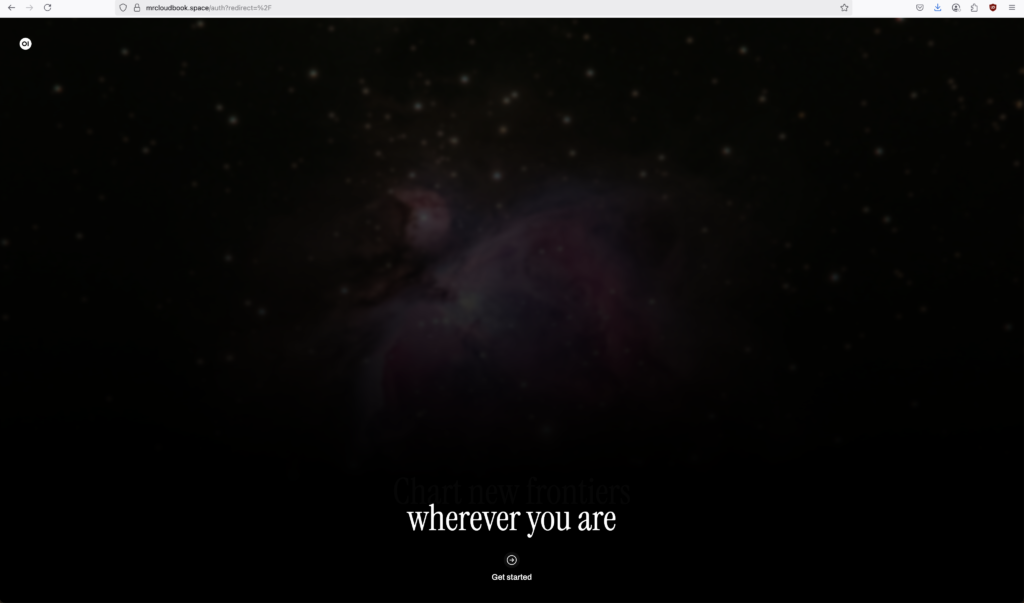
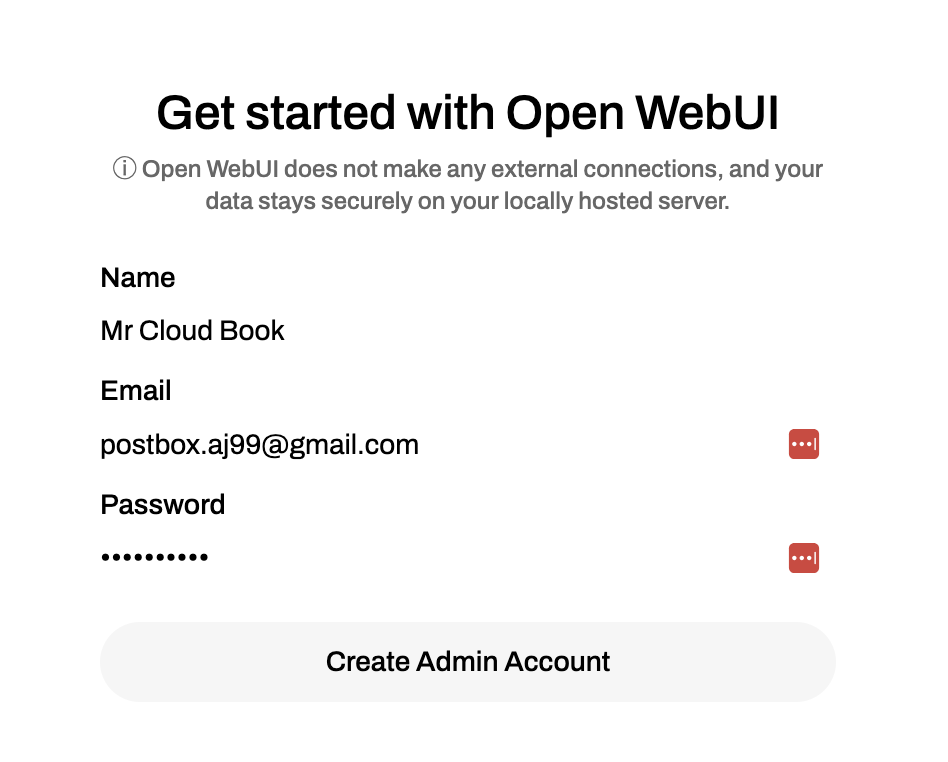
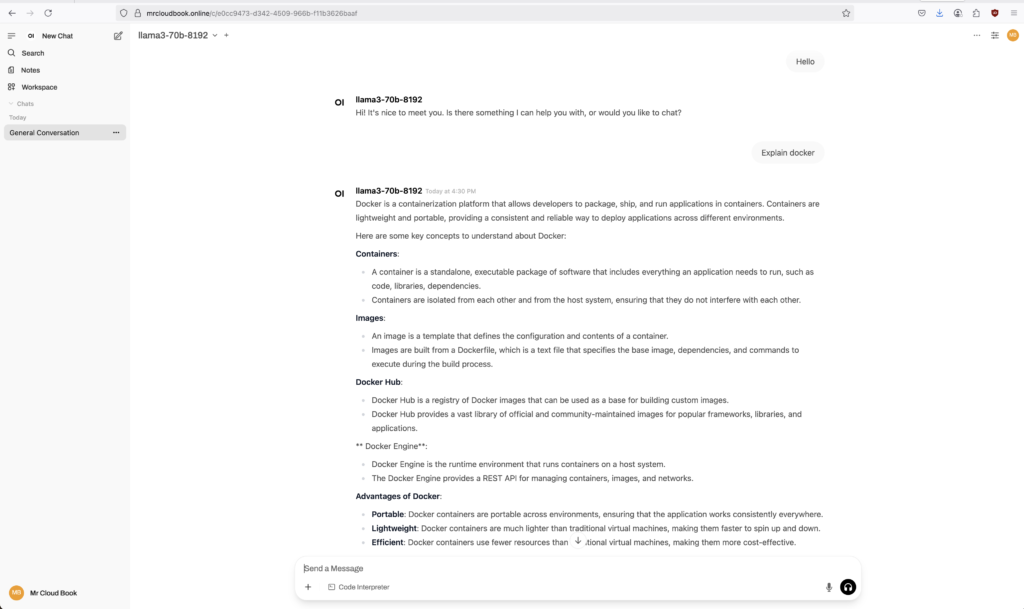
docker compose up -dThat’s it! After a minute, Traefik will have automatically obtained the SSL certificate and configured the routing. You can now go to https://chat.example.com , and it should work perfectly, even with response streaming turned on.
You can also view the Traefik dashboard by going to http://<your_server_ip>:8080 to see the status of your services.
Step 5: Termination
After playing with it
Lets terminate process
- Remove server
- Remove IP from DNS provider

Leave a Reply