DevOps
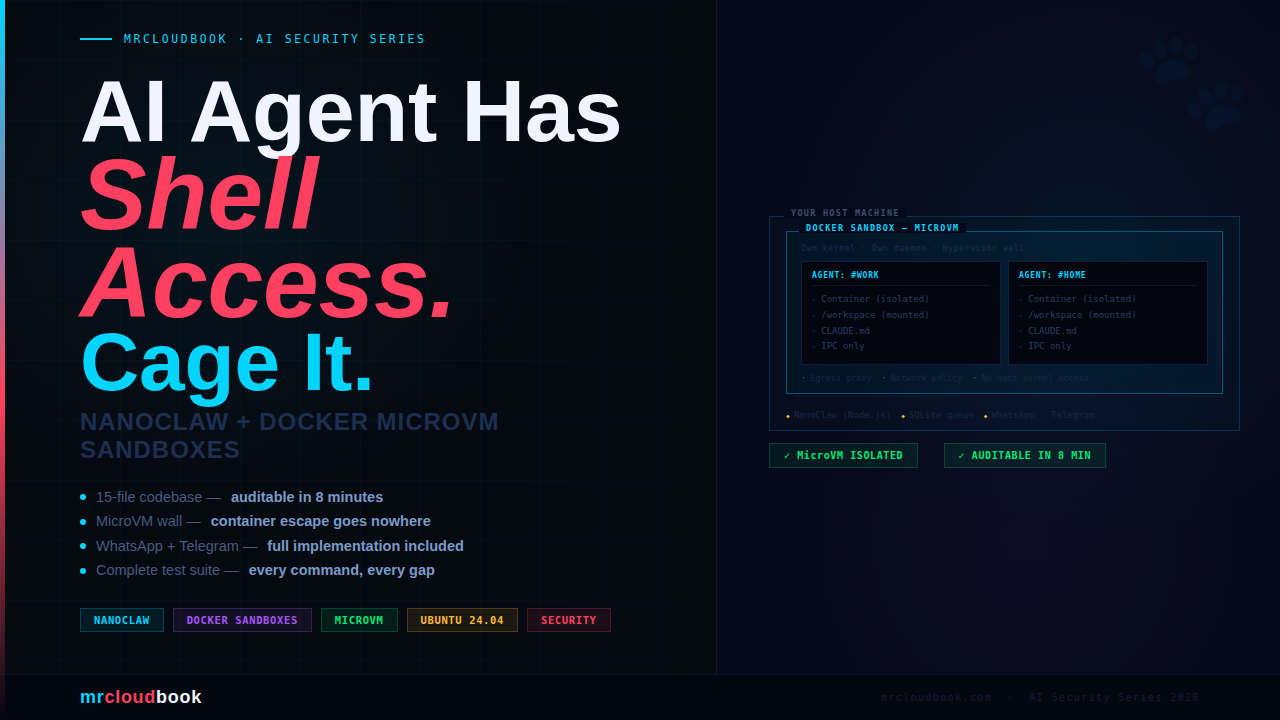
NanoClaw on Ubuntu 24.04: Run Secure AI Agents in Docker Sandboxes
NanoClaw hit Hacker News this week, 134 points, and the DevSecOps reflex kicked in immediately - skepticism. Another AI agent framework that …
AI · Cloud · DevSecOps · Engineering
Production-grade tutorials, hands-on projects, and interactive roadmaps - everything you need to become a Cloud DevSecOps engineer.
NanoClaw hit Hacker News this week, 134 points, and the DevSecOps reflex kicked in immediately - skepticism. Another AI agent framework that …
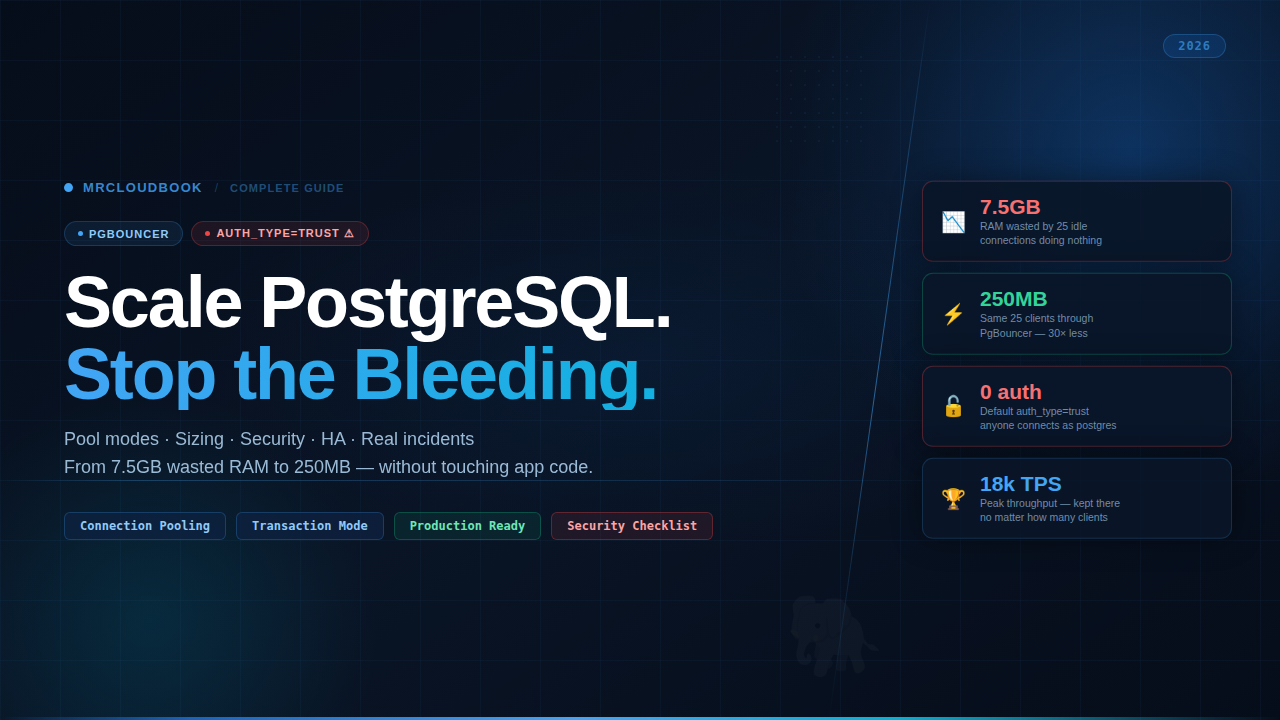
Server had 25 idle connections eating 7.5GB of RAM and doing absolutely nothing. Background workers were silently starving our web app every …
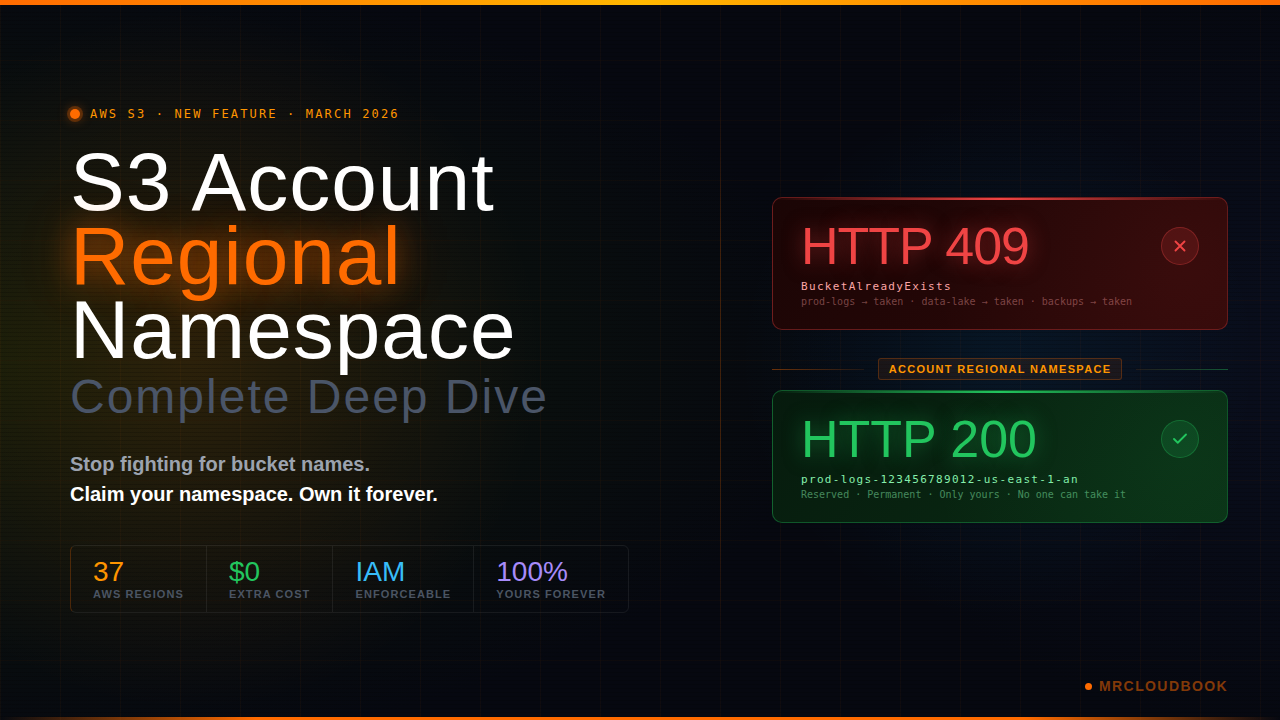
AWS just solved the most annoying S3 problem: bucket names taken by strangers, squatters, and that one dev who deleted a bucket …
@mr.cloudbook
Step-by-step DevOps projects you can follow along - CI/CD pipelines, Kubernetes deployments, Docker builds, Terraform infra, and end-to-end production setups.
Most Watched
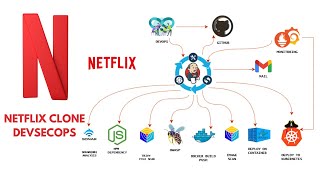
Netflix Clone CI/CD Pipeline - Jenkins, Docker, Kubernetes & Monitoring
A structured path from Linux basics to production-grade AI Cloud DevSecOps - follow it step by step.
Master the CLI, shell scripting, user management, process control, and networking - DNS, TCP/IP, HTTP, and firewalls.
Learn a language for automation and tooling. Understand data formats, REST APIs, and writing reusable scripts.
Branching strategies, pull requests, merge conflicts, rebasing, tagging, and collaborative workflows.
Cloud-native services - compute, storage, networking, IAM, and managed Kubernetes across major providers.
Build images, multi-container apps, networking, volumes, and private registries.
Provision infrastructure declaratively. Reusable modules, state management, and config at scale.
Automate build, test, deploy. Multi-stage pipelines, parallel jobs, caching, artifacts, and rollbacks.
Pods, Services, Deployments, StatefulSets, RBAC, Ingress, Helm, and managed K8s clusters.
Shift left - vulnerability scanning, secrets, policy enforcement, image signing, and compliance.
Metrics, logs, traces, dashboards, alerting, SLIs/SLOs, and incident response.
Git as the source of truth. Pull-based reconciliation, canary releases, blue-green, and feature flags.
Service-to-service communication, traffic routing, mTLS, and internal developer platforms.
"The DevSecOps CI/CD tutorials are the most hands-on, practical guides I've found anywhere. Each step is clearly explained with real commands you can copy and run."
"The Kubernetes Masterclass series took me from zero to deploying production clusters on EKS. The day-by-day format made it easy to follow alongside work."
"I love how every project includes security scanning from the start - not as an afterthought. This is how real DevSecOps should be taught."
"Mr Cloud Book's YouTube channel combined with these blog posts created the perfect learning combo. Got my first DevOps job within 6 months of following along."
"The Terraform and Ansible posts saved me hours of debugging. Clear, concise, and production-tested. Bookmarked every single one."
MrCloudBook is a free, community-driven platform with production-grade DevOps tutorials, real-world projects, and cheat sheets. Everything you need to go from beginner to hired.