-
Go to the AWS Management Console and sign in.
-
Make sure you are in the region where you want to create your S3 bucket.for this project (US-WEST-2)
3.Navigate to the S3 service in the AWS Management Console.
4.Click on Create bucket.
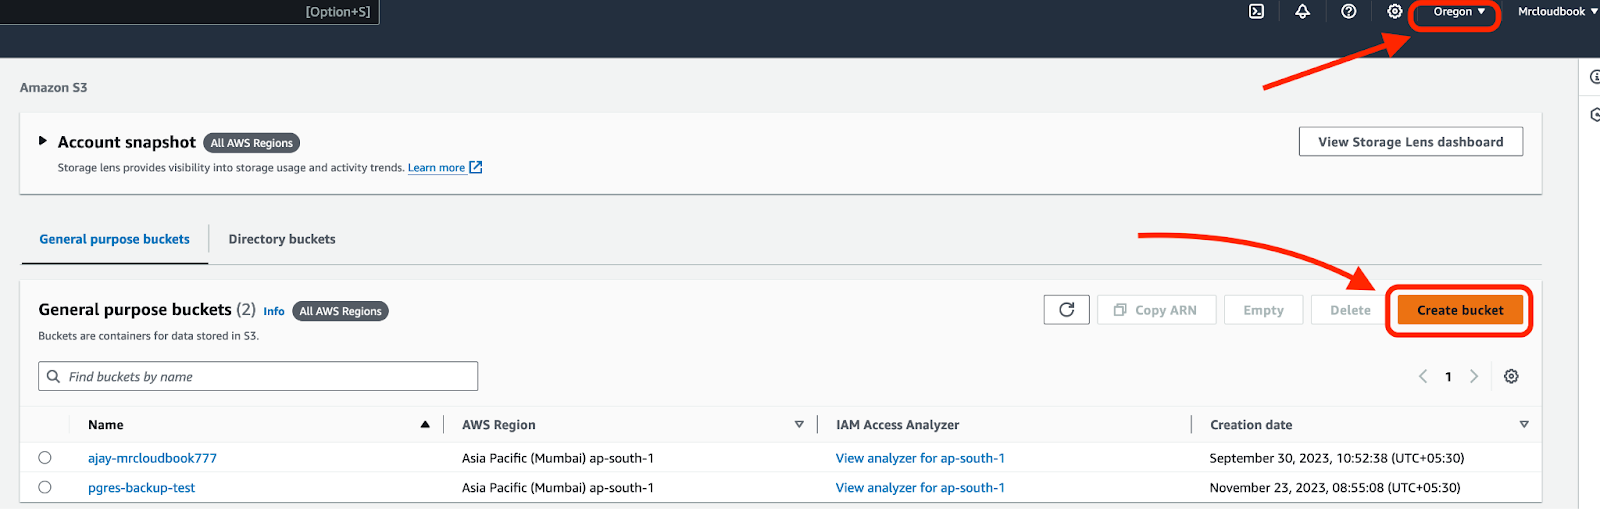
- Provide a unique name for your bucket and select the AWS Region where you want to create the bucket.(Oregon Region)

-
Select Acls enabled (see above Image)
-
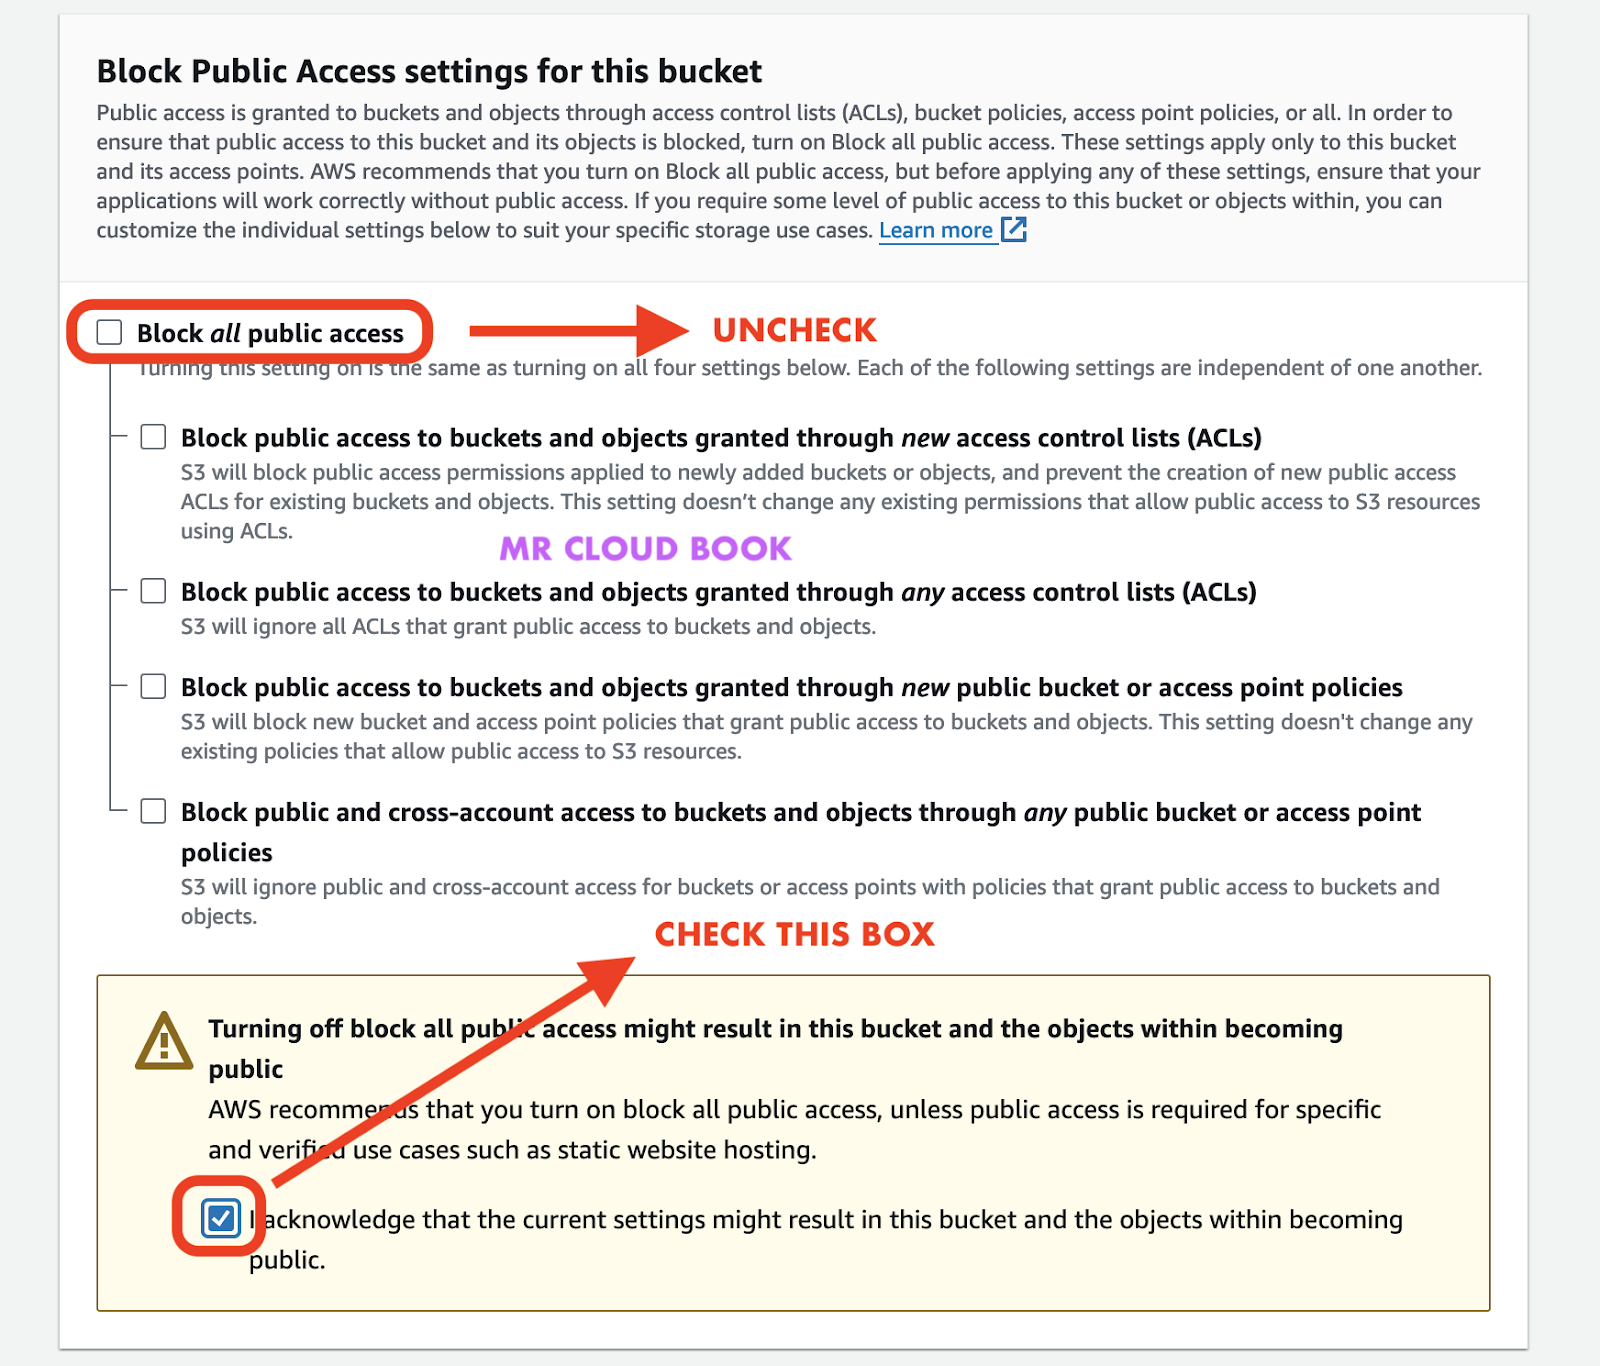
you’ll see the Block all public access settings. By default, all options under this setting are checked to prevent public access.
-
Uncheck the Block all public access option. This action will automatically uncheck all related options beneath it.
- A warning message will appear, emphasizing the risks associated with making your bucket publicly accessible. Below this message, you’ll find an acknowledgment checkbox.
- Check the acknowledgment box to confirm that you understand the consequences of enabling public access to your bucket.
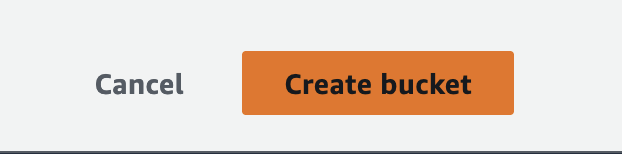
- Click Create bucket to finalize the bucket creation process.
-
To allow public access, you’ll need to add a bucket policy explicitly granting such permissions.
-
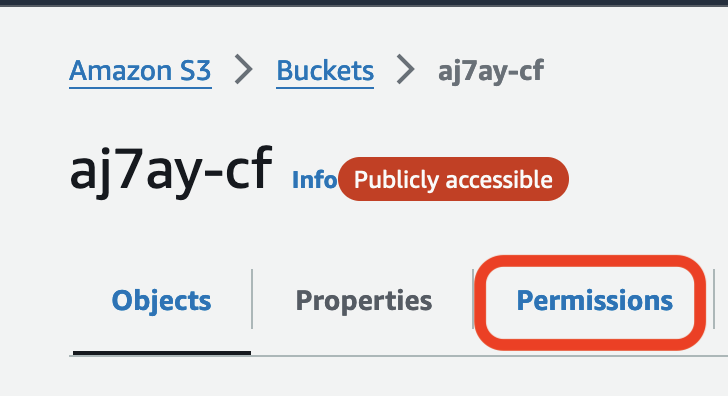
In the S3 dashboard, click on your newly created bucket’s name.

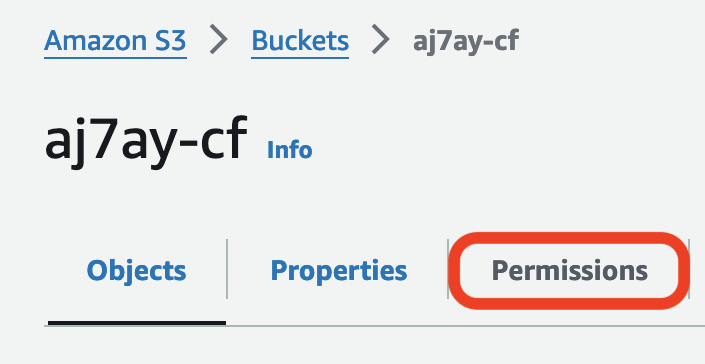
11.Go to the Permissions tab.
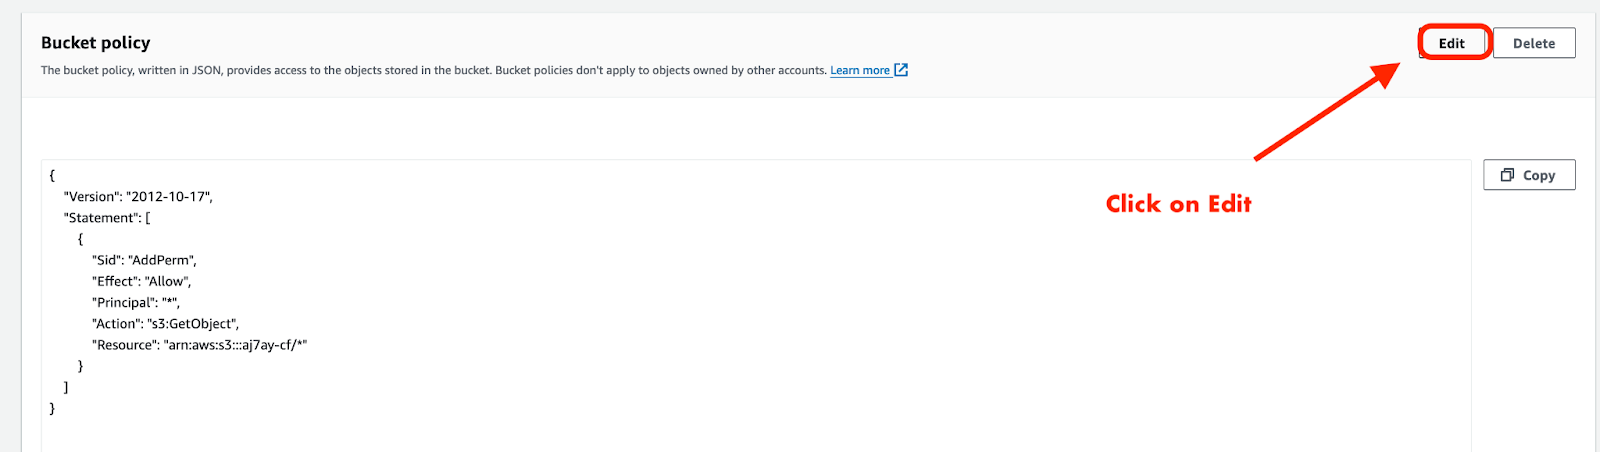
- Scroll to the Bucket policy section and click Edit.

- In the Policy editor, copy and paste the following and replace YOUR_BUCKET_NAME with the name of your S3 bucket:
{
  "Version": "2012-10-17",
  "Statement": [
    {
      "Sid": "AddPerm",
      "Effect": "Allow",
      "Principal": "*",
      "Action": "s3:GetObject",
      "Resource": "arn:aws:s3:::YOUR_BUCKET_NAME/*"
    }
  ]
}
This policy will allow public access to all objects in your S3 bucket.

- To save your bucket policy, at the bottom of the page, click Save changes.
The bucket overview page will load and you will see a notification that the policy has been edited.
Note: If you see an error, ensure the bucket name has been entered into the policy correctly.
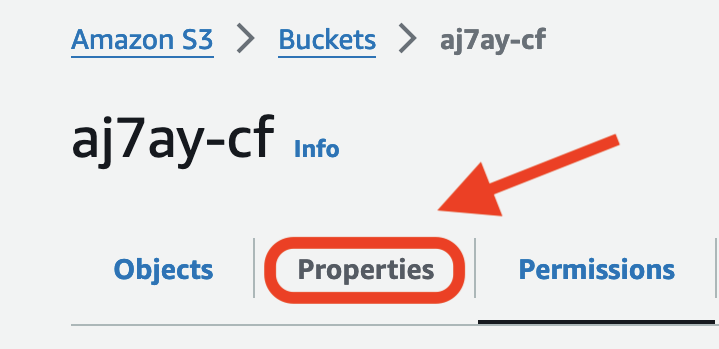
- Let’s Enable static website hosting, Click on the Properties tab
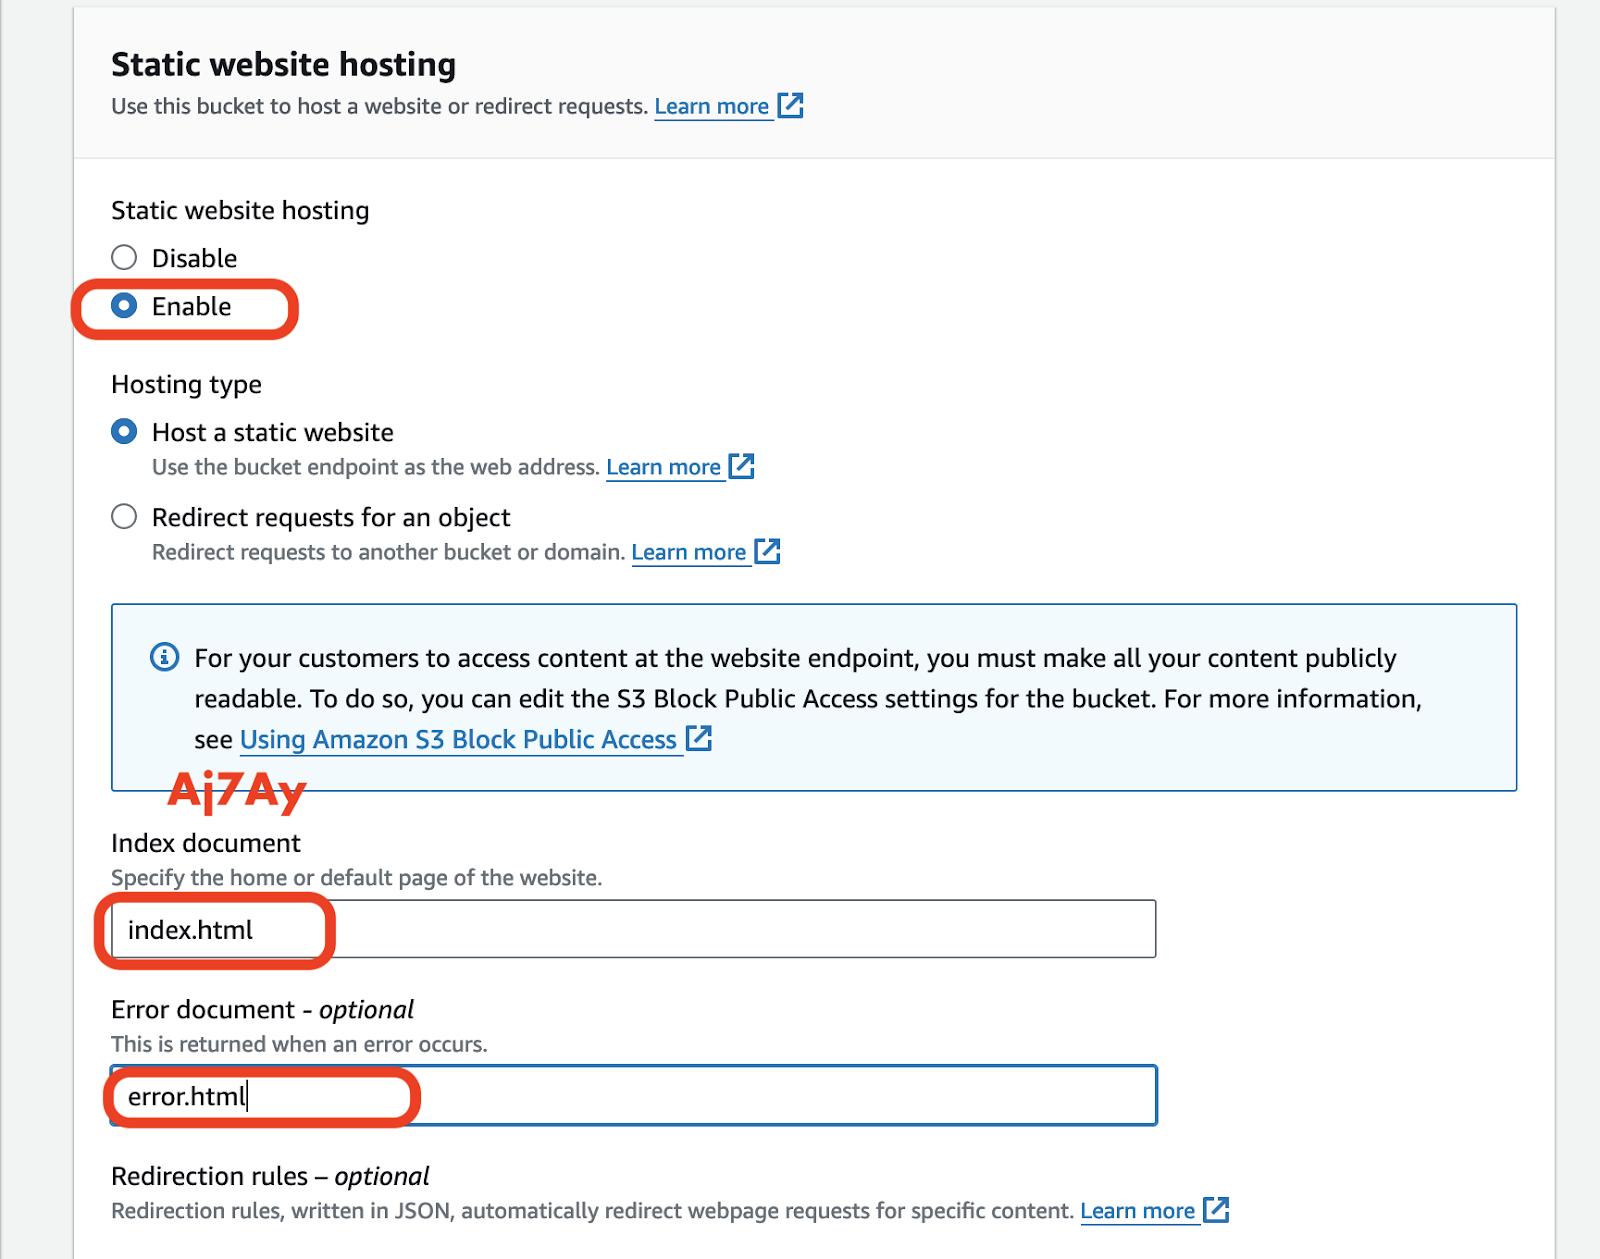
- Scroll Down to find the static website hosting option and click on edit

-
Select Enable to enable static website hosting &
-
Choose Host a static website. Here, you’ll be prompted to enter:
Index document: The name of your homepage document (e.g., index.html). This is the file served when visitors access the root URL of your website.
2. Error document (optional): The name of the HTML file to show when an error occurs (e.g., error.html). This is not mandatory but recommended for handling HTTP errors gracefully.
(Optional) If you have a custom error document, fill in the Error document field.
Click Save changes.
- Upload the Website Files LINK HERE
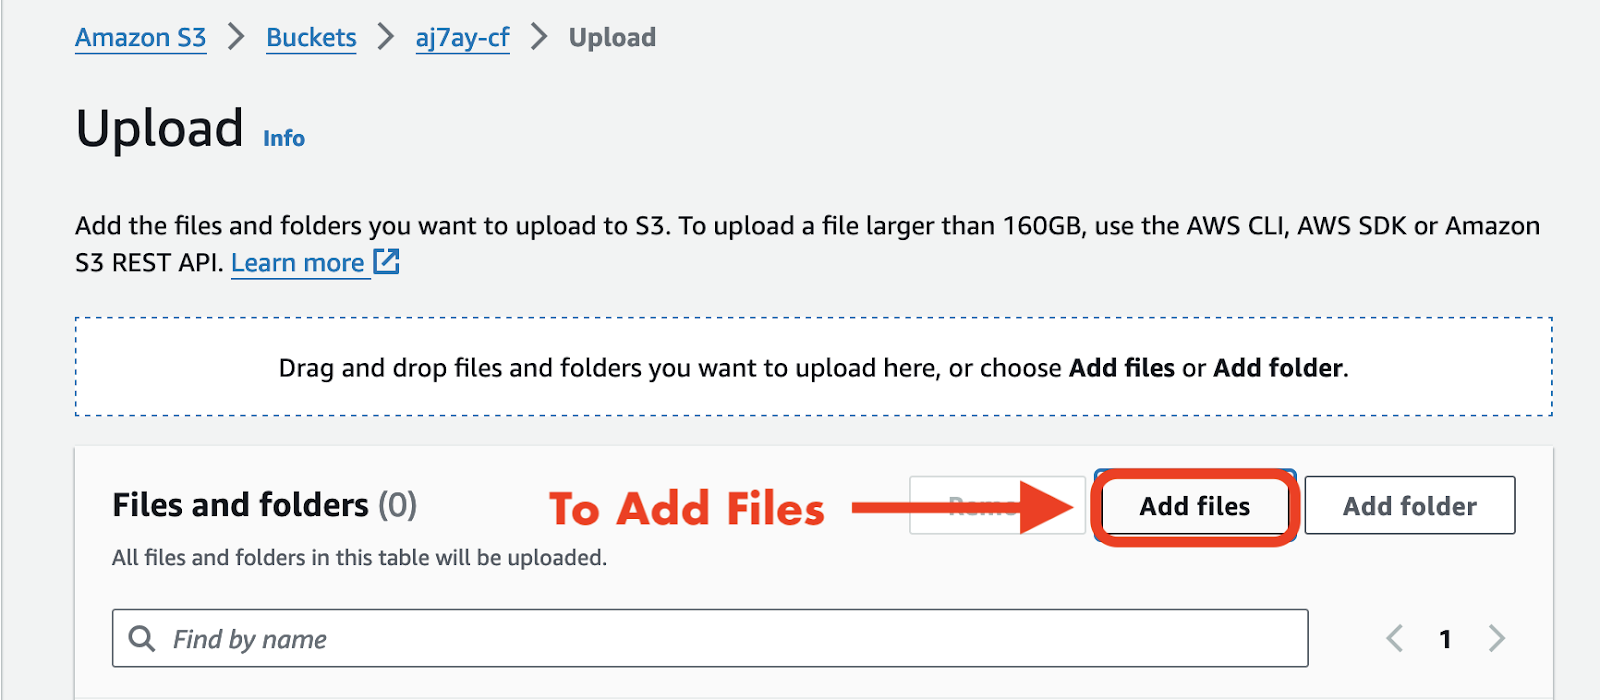
Go to the Objects tab & Click Upload to upload your static website files (HTML, CSS, JavaScript, images, etc.).
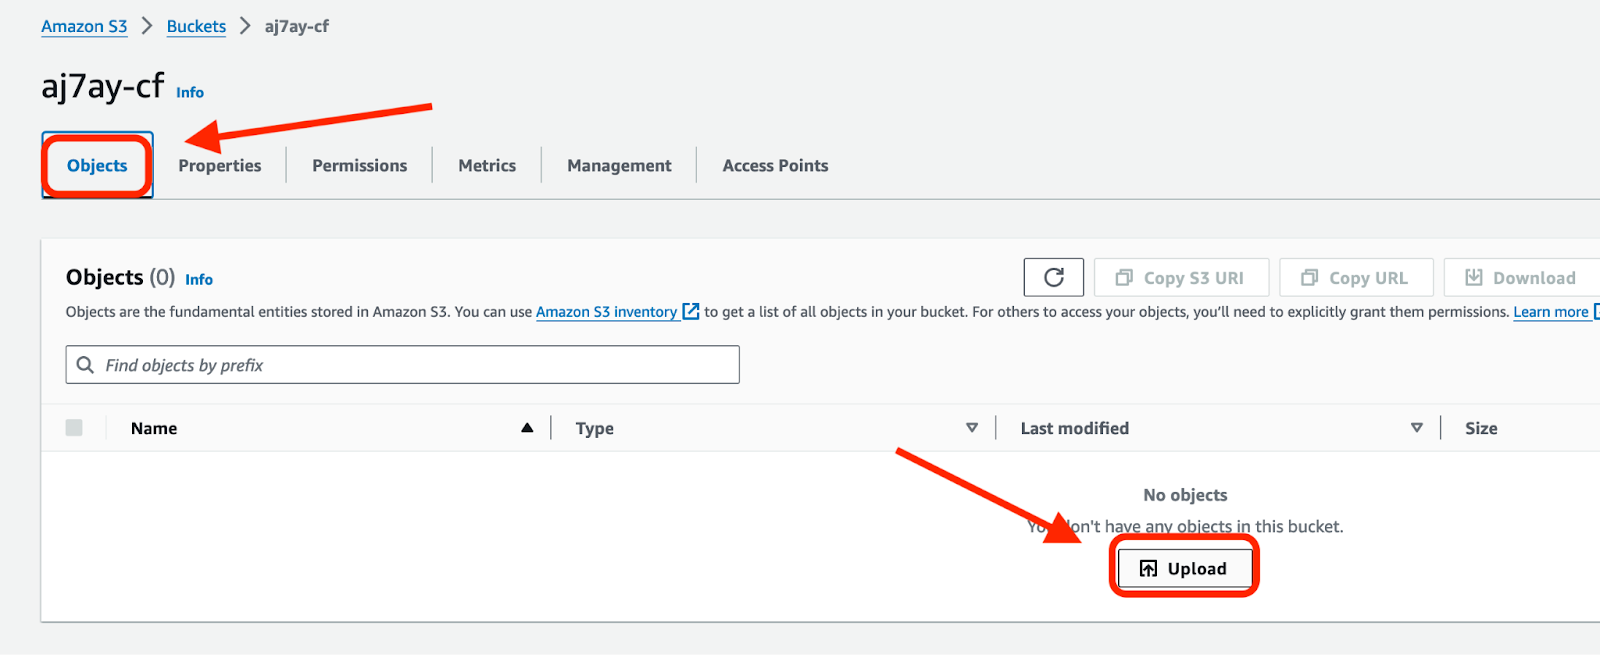
- Click on Add files to add files to S3 Bucket
- Files Added to S3 bucket and Lets Add folders for CSS and ASSETS
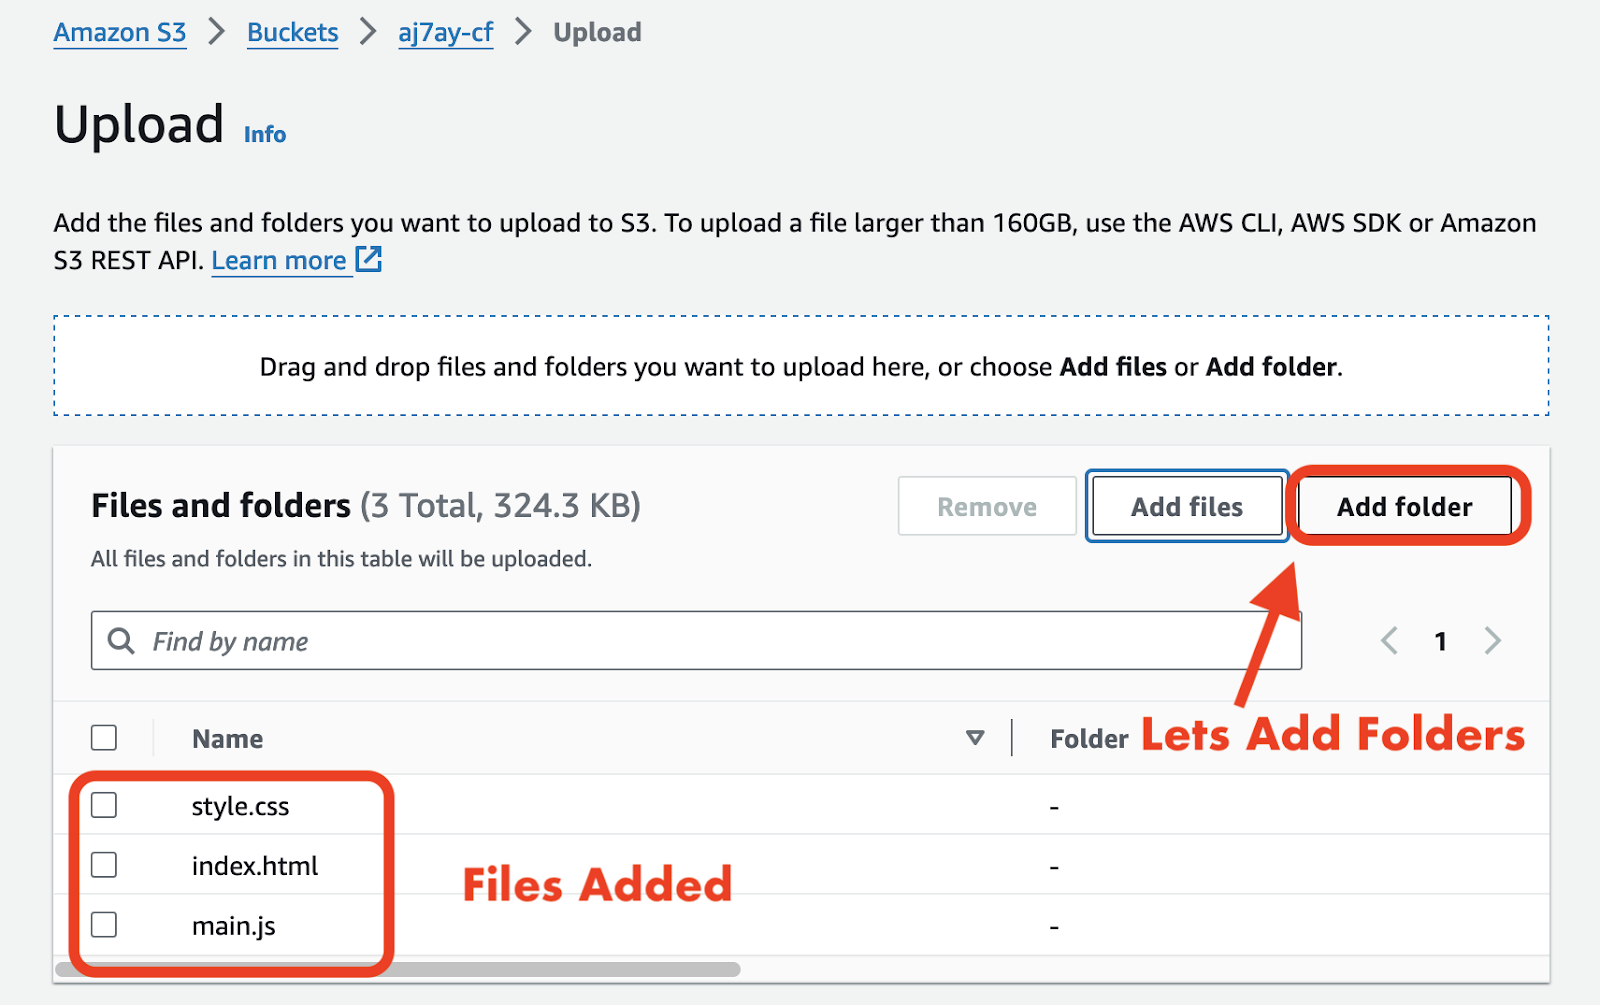
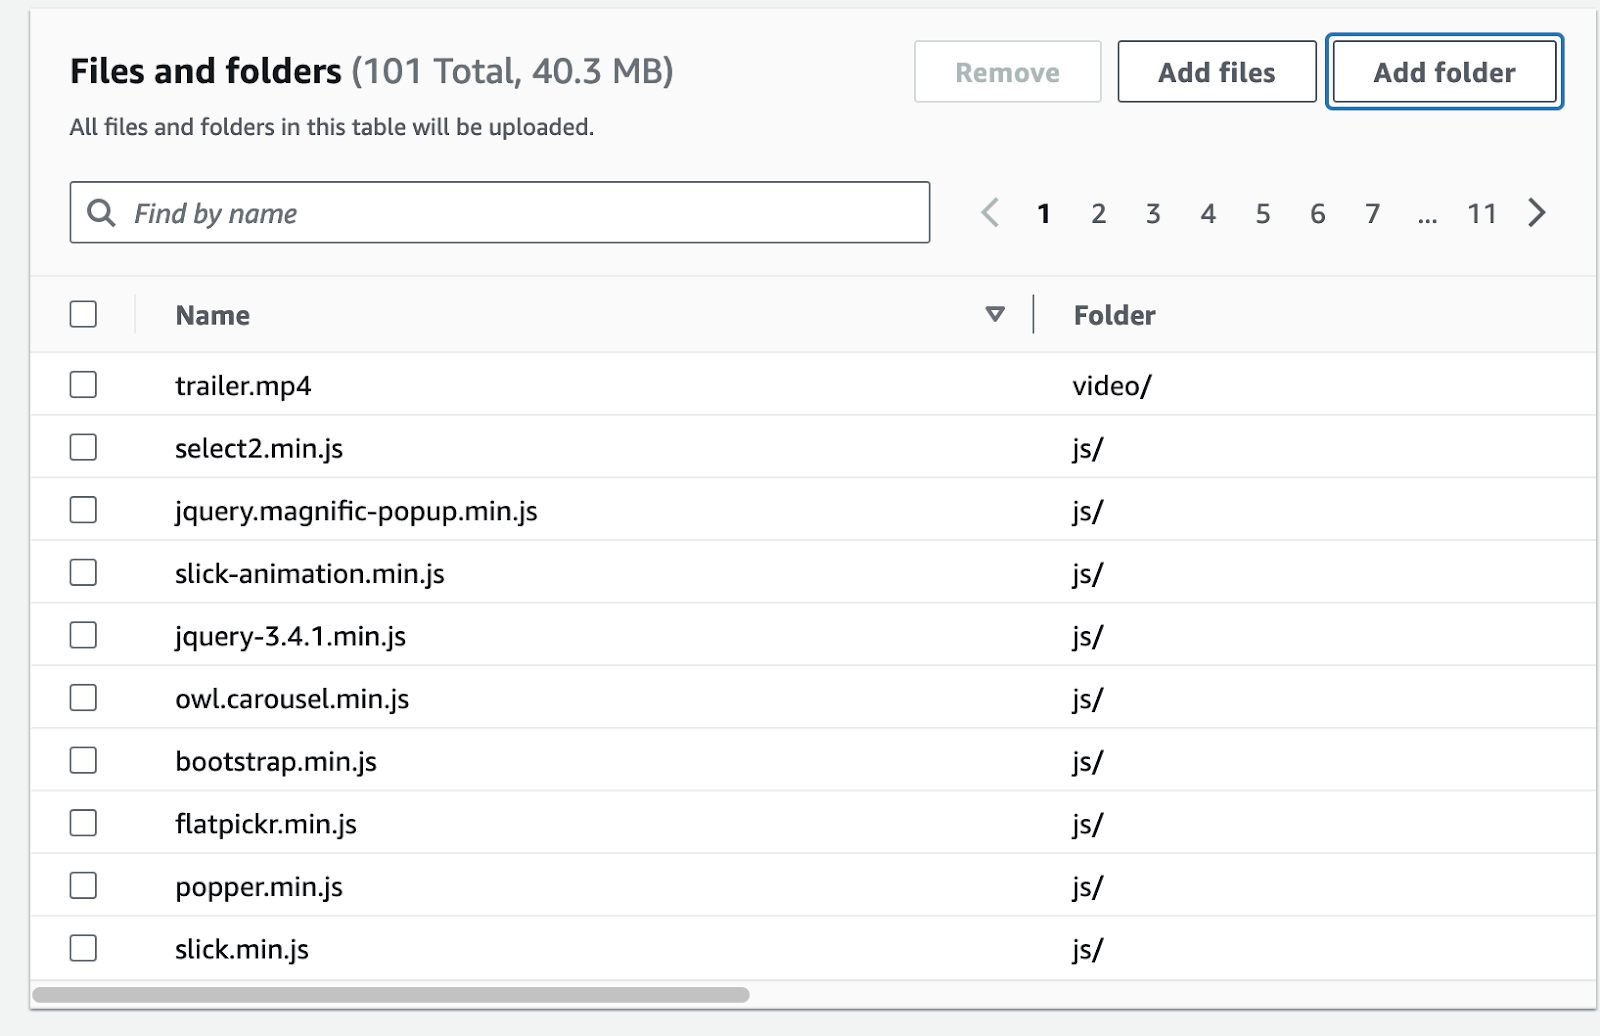
- Folders Added
-
Access Website in Your Web Browser
-
Go back to the Properties tab and scroll down to the Static website hosting section.
- You’ll see a Bucket website endpoint URL. This URL is the public address of your static website.
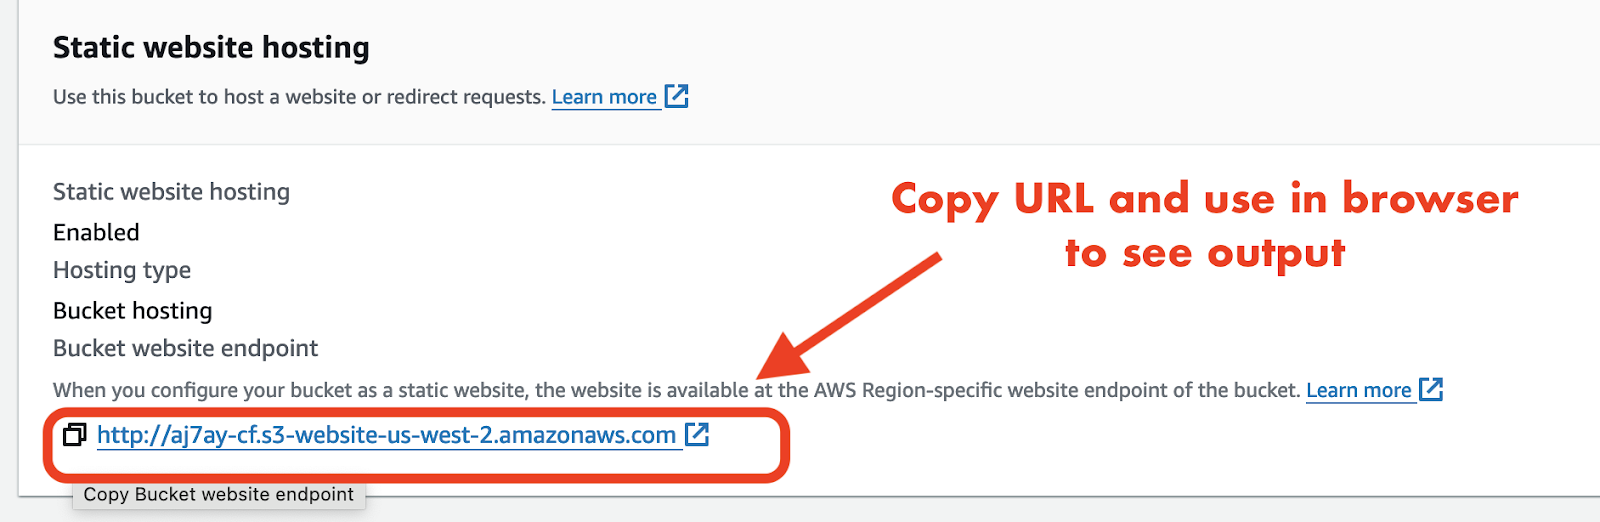
- Paste the endpoint into the address bar of a new browser tab.
You will see a website load that looks like this:
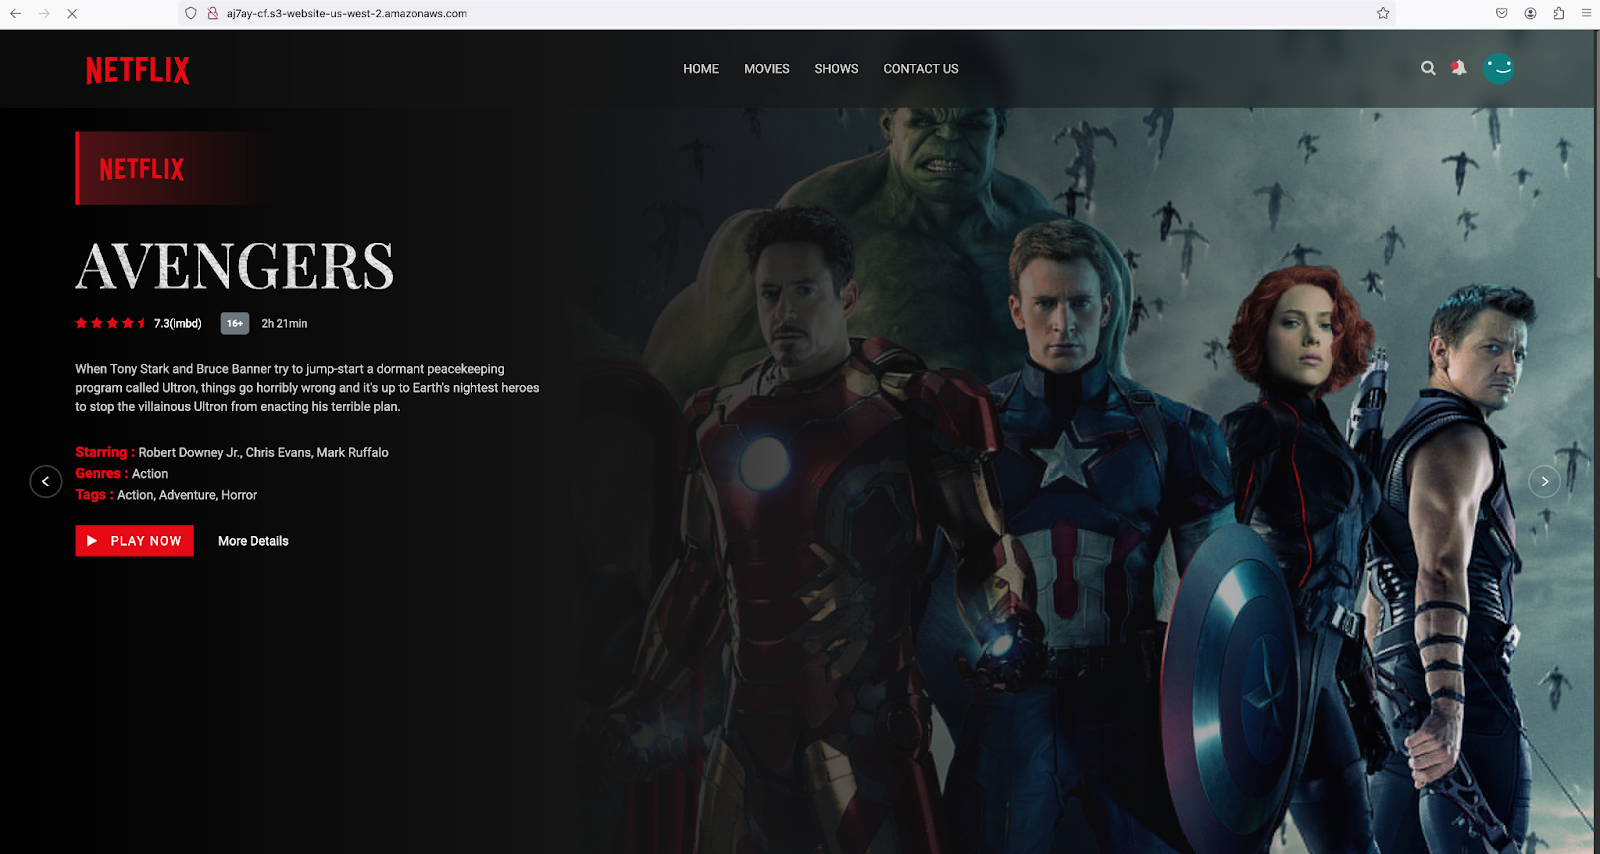
AMAZON CLOUDFRONT
Amazon CloudFront is a global Content Delivery Network (CDN) that delivers data securely and efficiently. CloudFront pulls your website out to the edge of the network, reducing latency when accessed from different global locations.
In this lab step, you will set up an Amazon CloudFront distribution for your static site hosted in your Amazon S3 bucket, update the bucket policy to allow access to the CloudFront distribution, and update permissions to block public access to the S3 bucket.
Instructions
- In the AWS Management Console search bar, enter CloudFront, and click the CloudFront result under Services:

The Amazon CloudFront console will load.
- To start creating a distribution, click Create a CloudFront Distribution:

- Under Origin, in the Origin Domain text-box, enter the Amazon S3 static website hosting endpoint that you created earlier:
Note: If you see a warning regarding the S3 website endpoint, you can safely ignore the message and keep moving forward
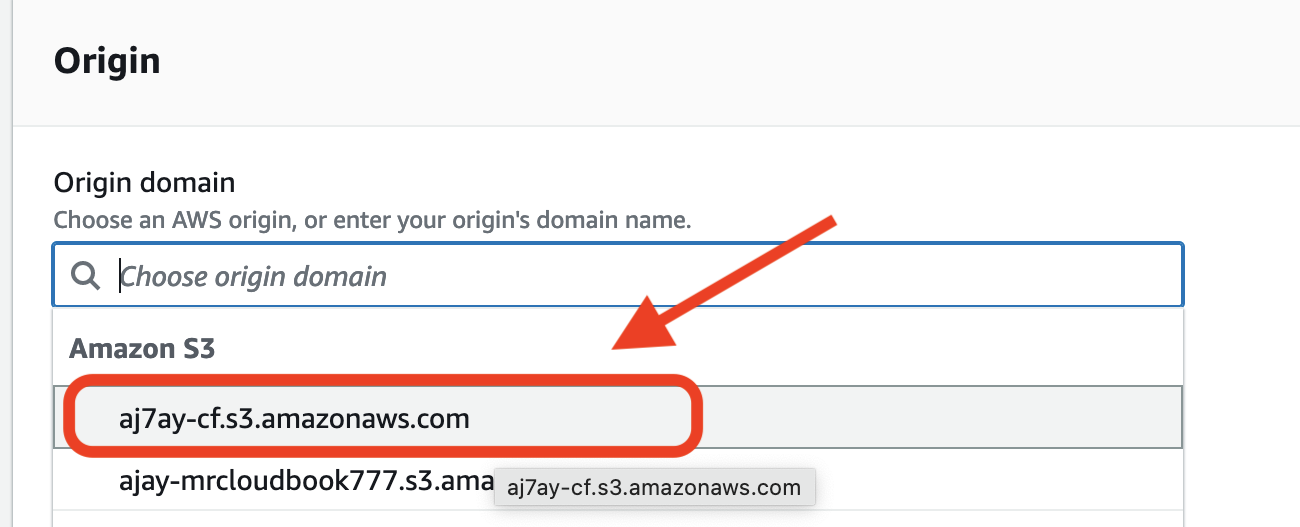
Warning: If you don’t see the S3 bucket in the origins list, manually enter the following:
- Under Origin, in the Origin access, select Origin access control settings and click Create new OAC:
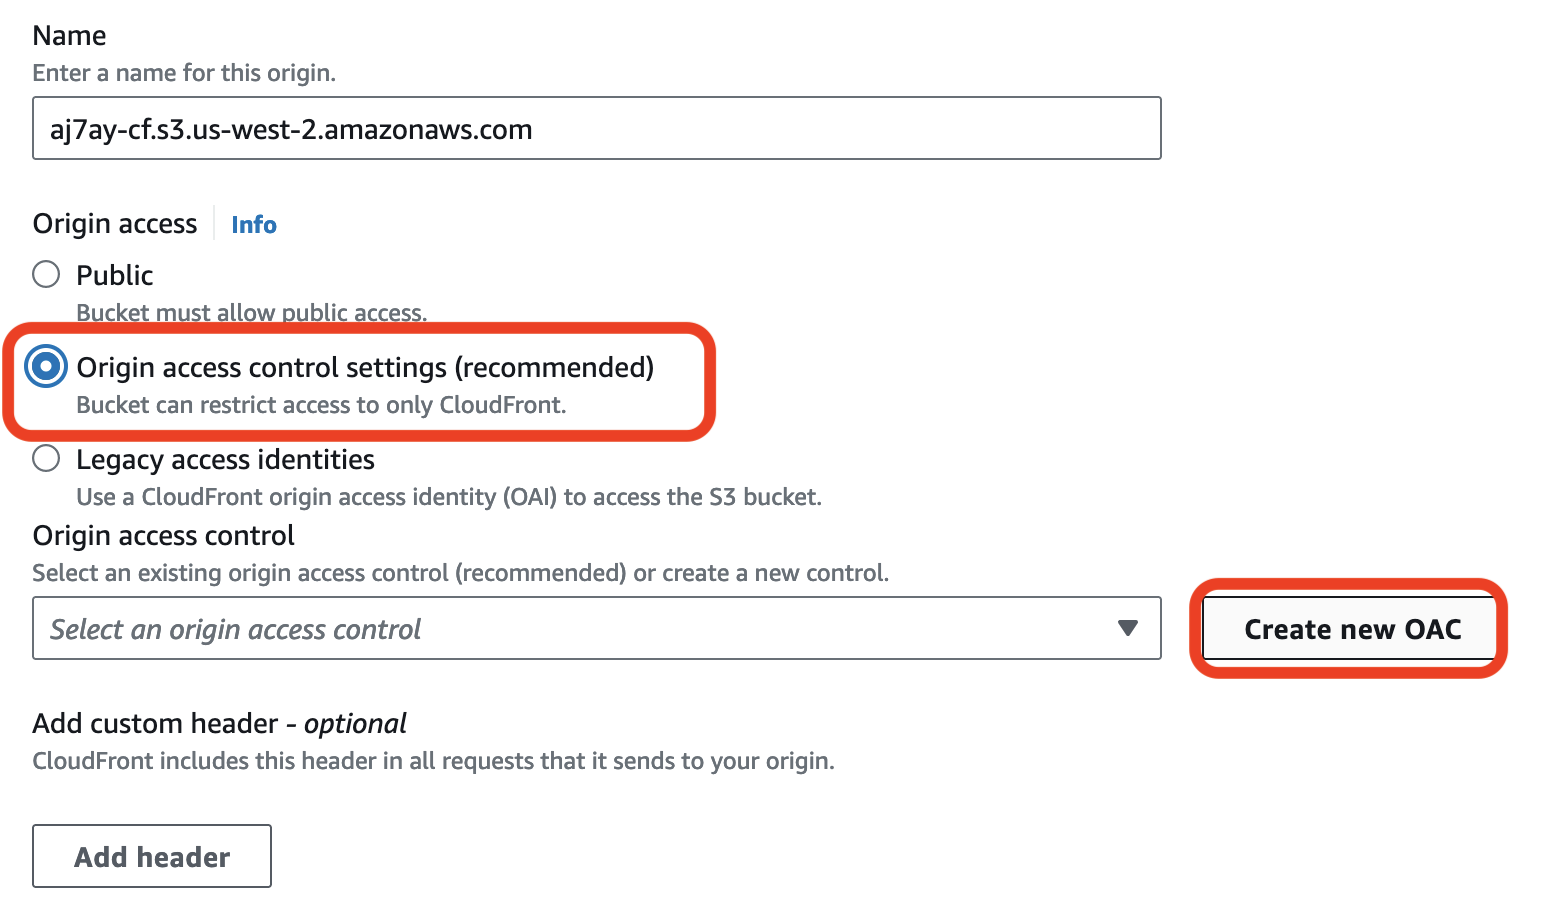
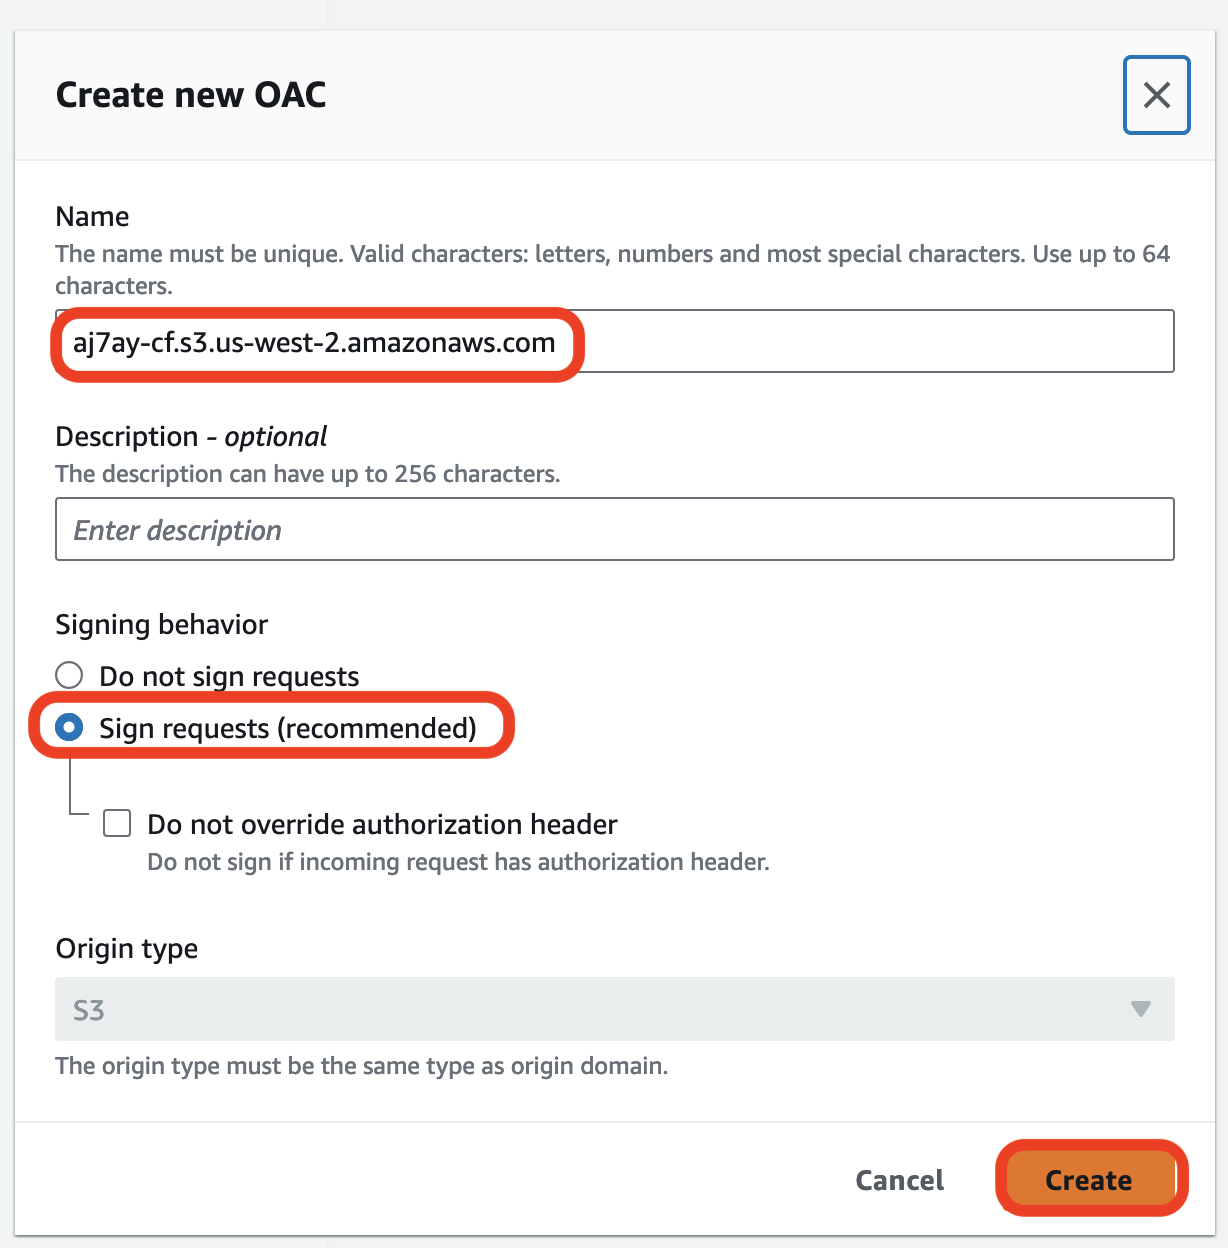
- Under Create control setting, enter the following values:
- Name: by Default it will have
- Signing behavior: Ensure Sign requests is selected
Origin access control secures S3 origins by allowing access to only designated distributions. This follows AWS best practice of using IAM service principals to authenticate with S3 origins.
- Click Create
Leave all other fields in this section as well as the Default cache behavior section as their default values.
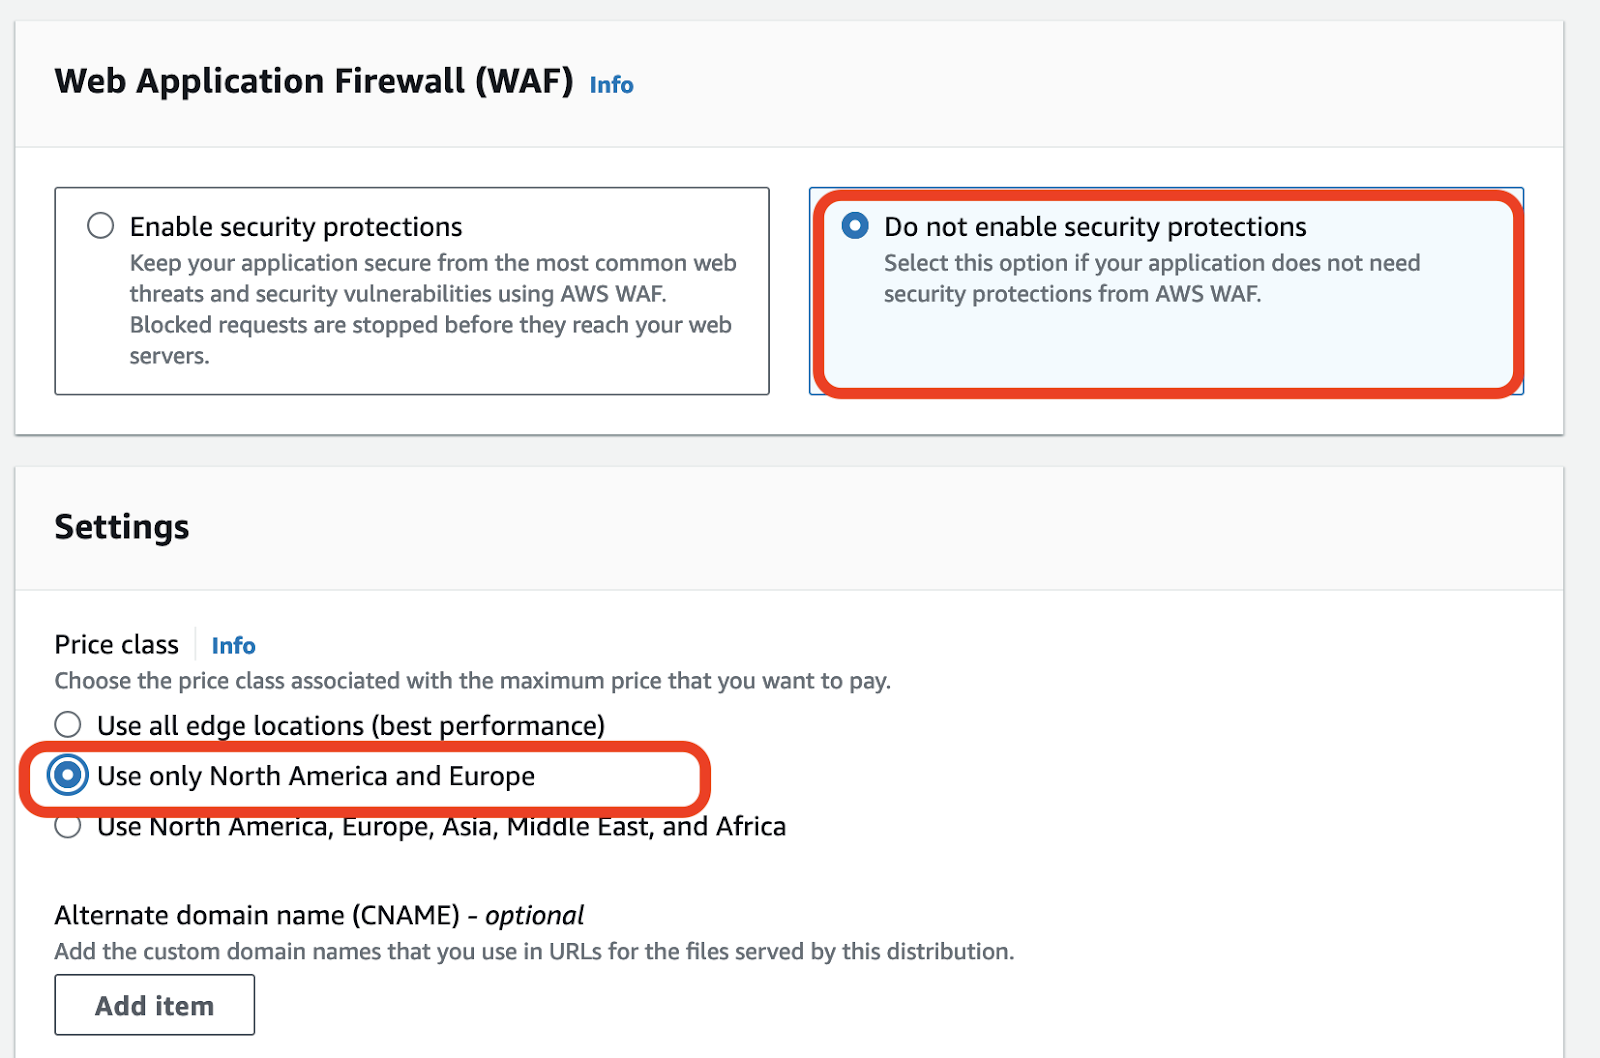
- Select Do not enable security protections under Web Application Firewall (WAF):
Note: You can safely ignore the Custom SSL Certificate error
8. Scroll down to Settings, and in the Price class selection, select Use only North America and Europe
- In the Default root object field, enter index.html.
CloudFront will serve the default root object when the base distribution URL is requested.
You are setting this field because Amazon CloudFront doesn’t always transparently relay requests to the origin. If you did not set a default root object on the distribution you would see an AccessDenied error when you access the CloudFront distribution’s domain later in this lab step.
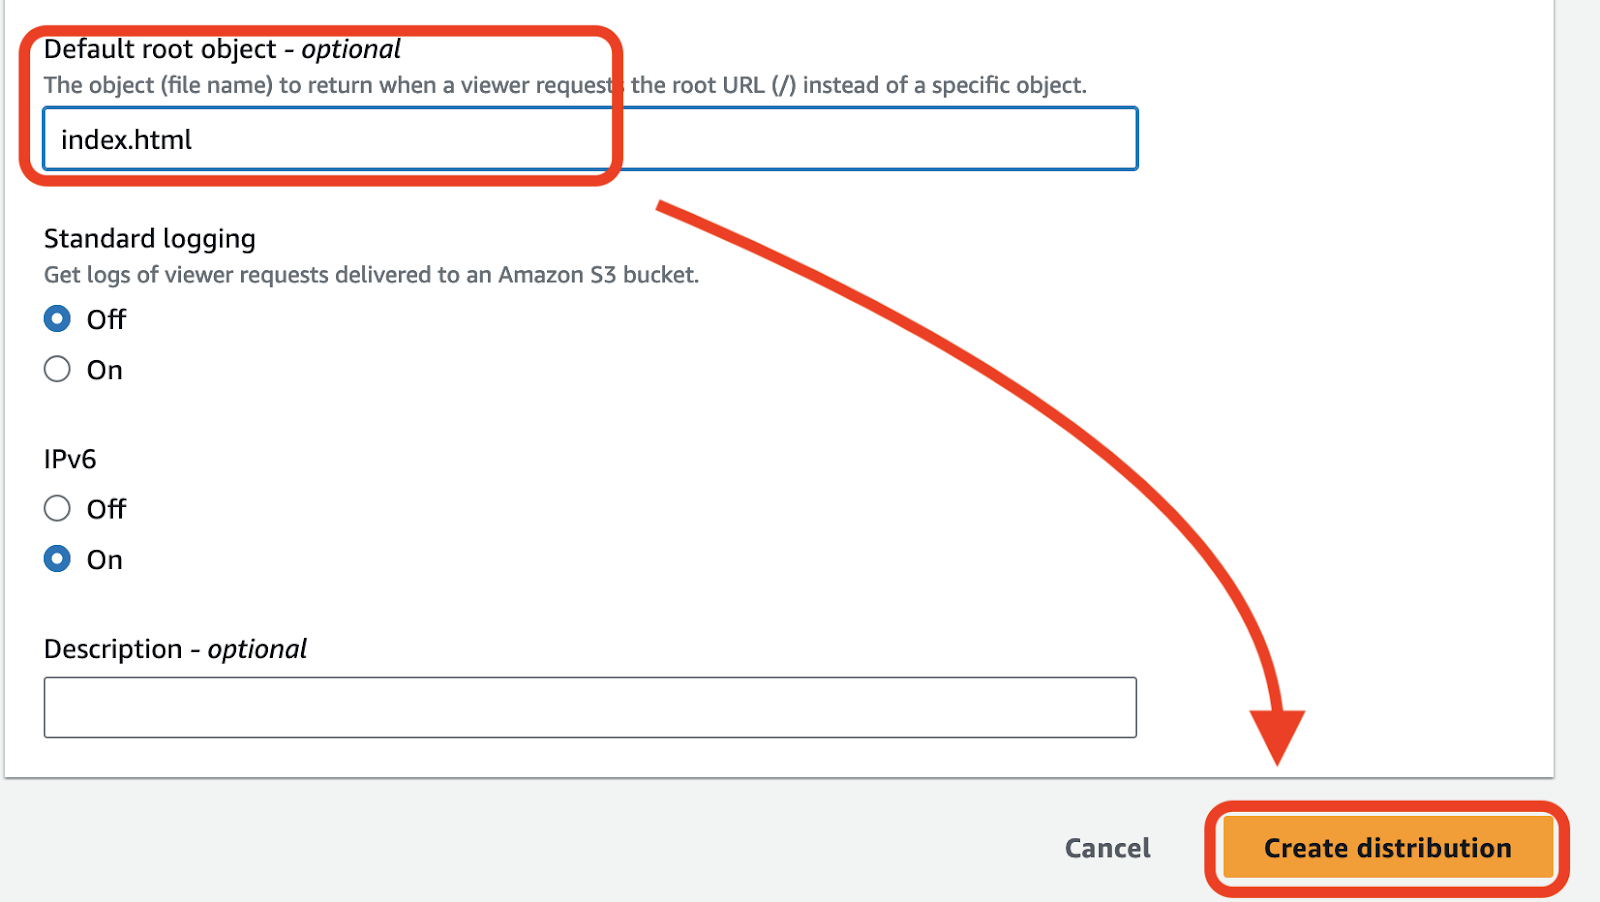
- To finish configuring your distribution, at the bottom of the page, click Create distribution:

You will be brought to the distribution details page.
CloudFront automatically assigns an ID (top of the page) and a Distribution domain name to the distribution and starts updating the edge locations to serve your content:
- Click Copy policy at the top of the page:

This policy provides a new bucket policy that provides the s3:GetObject permission to the distribution. This allows for blocking all public access to the S3 bucket while maintaining access to the website via the distribution
- To implement the policy, return to the bucket you created, click the Permissions tab, scroll down to the Bucket policy section, click Edit, paste the policy you copied, and click Save changes:
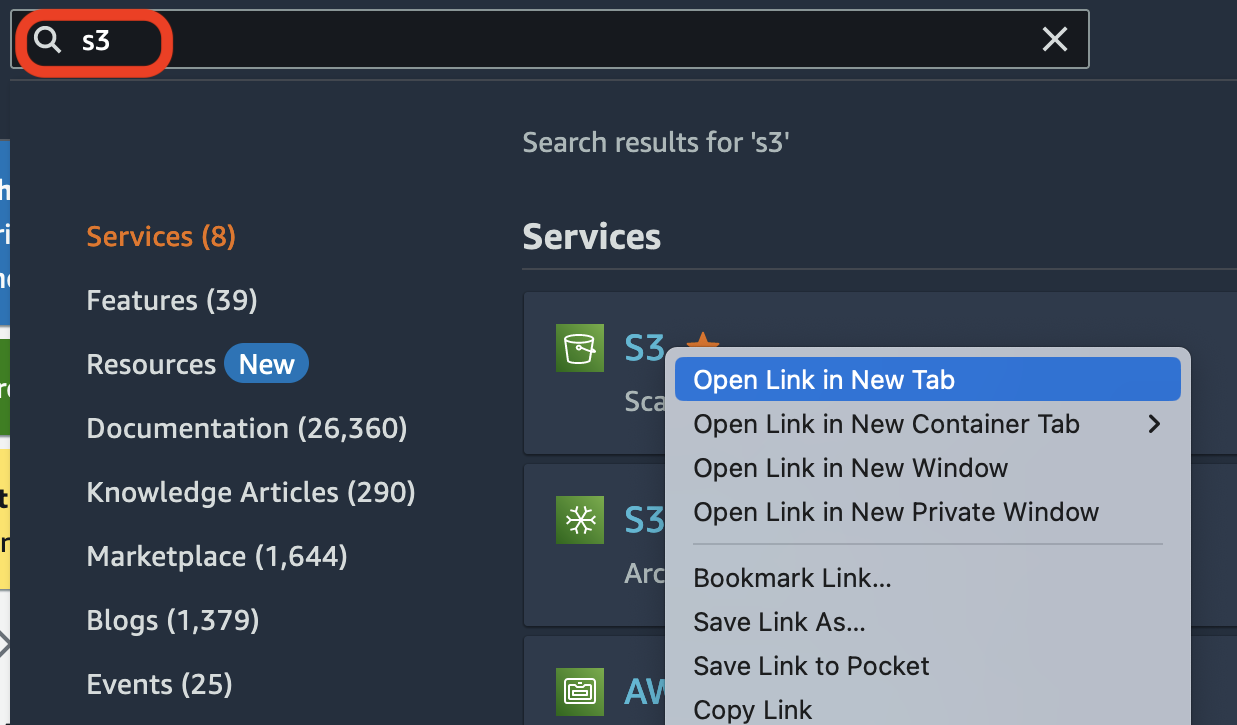
Open S# in new tab
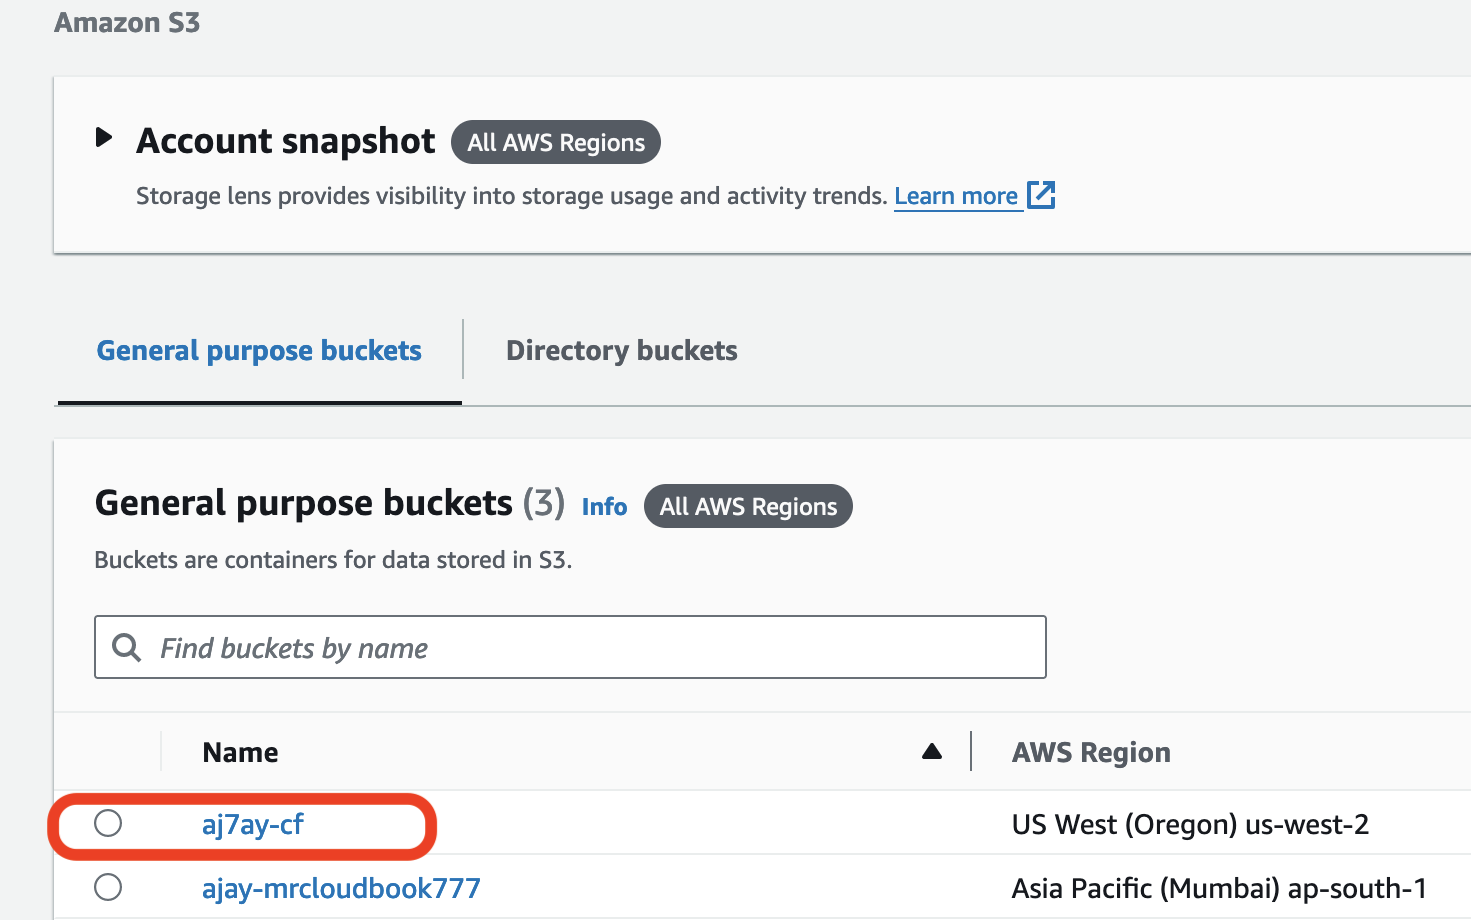
- Select Your S3 bucket
- Click on Permissions tab inside Bucekt
- Go to Bucket policy & click on Edi
- Update the Copied Policy from Cloudfront & click on Save Changes
{
        "Version": "2008-10-17",
        "Id": "PolicyForCloudFrontPrivateContent",
        "Statement": [
            {
                "Sid": "AllowCloudFrontServicePrincipal",
                "Effect": "Allow",
                "Principal": {
                    "Service": "cloudfront.amazonaws.com"
                },
                "Action": "s3:GetObject",
                "Resource": "arn:aws:s3:::aj7ay-cf/*",
                "Condition": {
                    "StringEquals": {
                      "AWS:SourceArn": "arn:aws:cloudfront::67618785:distribution/E2YU5EWWX3OGNJ"
                    }
                }
            }
        ]
      }
-
Under the Block public access (bucket settings) section click Edit,
-
select the Block all public access box, click Save changes,19. enter confirm into the field, and click Confirm:
20.The previous Bucket website endpoint will no longer work and will return a 403 error.
- Return to the CloudFront Distributions table:
22.Enter into Cloudfront Distributions to copy the Domain name
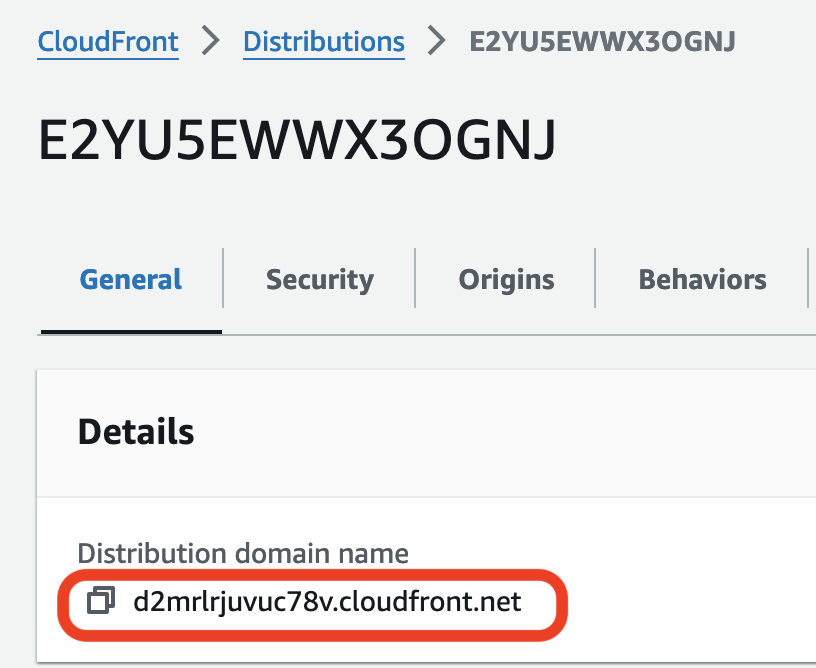
- Paste the domain name into the address bar of a new browser tab.You will see the website that you uploaded to your Amazon S3 bucket display
Comments (4)
so informative, thank you sir
Hi, where do we find the code to copy to S3 bucket
great content - thanks
Great content. Thankyouu
Leave a comment