Your Own GitLab Server: A Beginner-Friendly Guide to Installing on Ubuntu 24.04
So, you’re looking to take control of your code repositories and development workflow? GitLab is a fantastic open-source platform that lets you do just that! Think of it as your personal hub for hosting Git projects, tracking issues, and collaborating with your team, all on your own server.
Why host GitLab yourself? It means you have complete control over your data, an internal and secure place for your team’s projects, or even a public space to share your work with the world.
This guide will walk you through, step-by-step, how to install GitLab Community Edition (CE) on your Ubuntu 24.04 server. Don’t worry if you’re not a Linux guru – we’ll keep it simple and explain things along the way!
Before You Begin: Getting Your Server Ready
Before we dive into GitLab itself, let’s make sure your server is prepped and ready. You’ll need:
Buy A Domain from the hostinger
1. An Ubuntu 24.04 Server: This guide is tailored for Ubuntu 24.04. If you’re starting from scratch with a new server, you’ll want to perform an initial server setup. This usually involves creating a user with `sudo` privileges (explained next) and setting up a basic firewall.
2. A Non-Root User with `sudo` Privileges: Think of `sudo` as “Super User Do.” It lets your regular user account run commands as the super-powerful `root` user when needed, which is much safer than logging in as `root` all the time.
3. A Basic Firewall: A firewall acts like a security guard for your server, controlling what internet traffic can come in and go out. We’ll adjust it later to allow access to GitLab.
4. Hardware Check (Minimum Recommendations):
CPU: At least 4 cores. This is like the brain of your server; more cores mean it can think about more things at once.
RAM (Memory): At least 4GB. This is your server’s short-term memory, essential for running applications smoothly.
Configure Security Group:
- Add rules to allow:
- SSH (port 22) from your IP
- HTTP (port 80) from anywhere
- HTTPS (port 443) from anywhere
Got all that? Great! Let’s move on to the fun part.
## Step 1: Laying the Groundwork – Installing Essential Tools
GitLab relies on some other software to work its magic. These are called dependencies – like ingredients for a recipe. We’ll install them from Ubuntu’s official software sources.
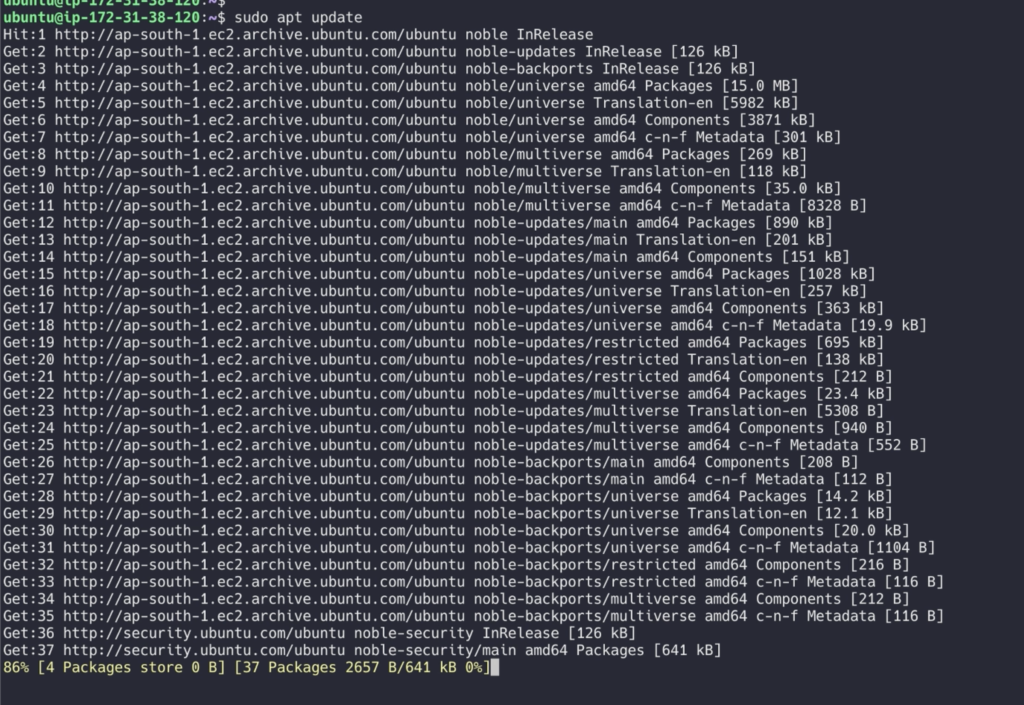
First, let’s tell your server to refresh its list of available software packages. This ensures you’re getting the latest versions. Open your server’s terminal and type:
sudo apt update
You’ll be asked for your user’s password. Type it in and press Enter.
Next, we’ll install the necessary dependencies:
sudo apt install ca-certificates curl openssh-server postfix tzdata perl -y
Let’s quickly break down what these are:
ca-certificates: For verifying secure connections.
curl: A tool for downloading files from the internet (we’ll use it soon for the GitLab script).
openssh-server: Allows secure remote access to your server (you’re probably using it already to connect!).
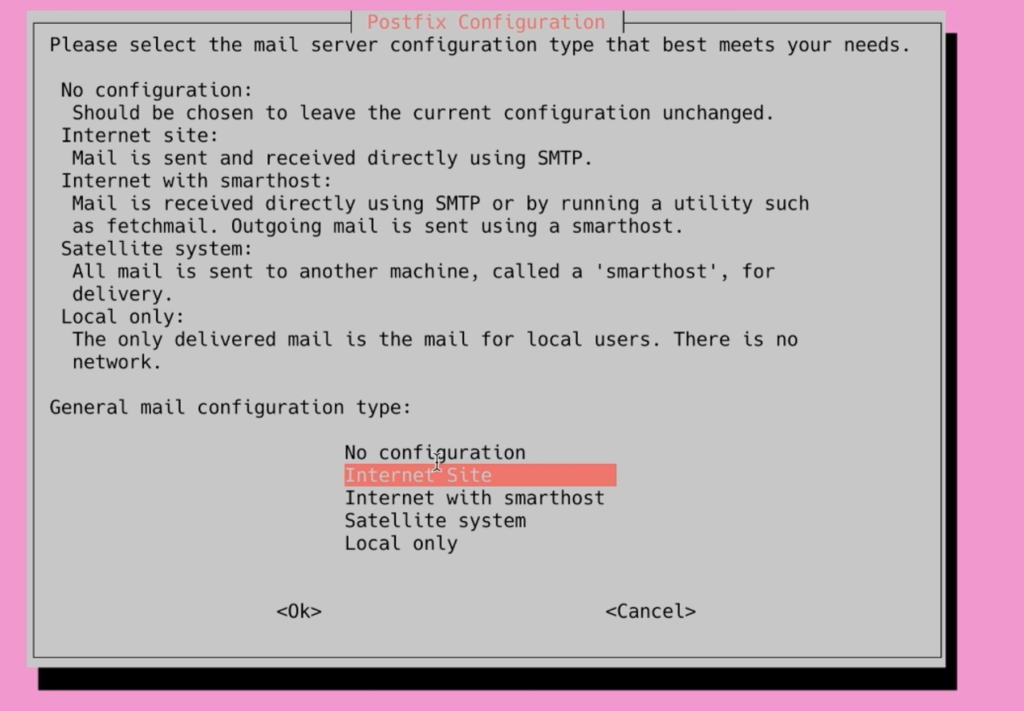
postfix: A mail transfer agent. GitLab uses this to send email notifications (e.g., for new user sign-ups, password resets, or project notifications).
During the postfix installation, you’ll likely be asked to choose a configuration type. Select **Internet Site**.

tzdata: Provides time zone information.
perl: A programming language used by some system scripts.
With these tools in place, your server is ready for GitLab itself!
## Step 2: Bringing GitLab Home – The Installation
Installing GitLab involves using an official script that configures your server to download GitLab from its dedicated repositories.
Now, download the GitLab installation script using `curl`. The `-LO` flags tell `curl` to download the file and save it with its original name from the server.
curl -s https://packages.gitlab.com/install/repositories/gitlab/gitlab-ce/script.deb.sh | sudo bash
If you’re curious (and a bit cautious, which is good!), you can take a peek at the script’s
The script sets up your server to use the GitLab maintained repositories. This lets you manage GitLab with the same package management tools you use for your other system packages. Once this is complete, you can install the actual GitLab application with apt
sudo apt-get install gitlab-ce=17.10.7-ce.0
This installs the necessary components on your system and may take some time to complete.
Editing the GitLab Configuration File
Before you can use the application, update the configuration file and run a reconfiguration command. First, open GitLab’s configuration file with your preferred text editor. This example uses vi :
sudo vi /etc/gitlab/gitlab.rb

Search for the external_url configuration line. Update it to match your domain and make sure to change http to https to automatically redirect users to the site protected by the Let’s Encrypt certificate:
...
## GitLab URL
##! URL on which GitLab will be reachable.
##! For more details on configuring external_url see:
##! https://docs.gitlab.com/omnibus/settings/configuration.html#configuring-the-external-url-for-gitlab
##!
##! Note: During installation/upgrades, the value of the environment variable
##! EXTERNAL_URL will be used to populate/replace this value.
##! On AWS EC2 instances, we also attempt to fetch the public hostname/IP
##! address from AWS. For more details, see:
##! https://docs.aws.amazon.com/AWSEC2/latest/UserGuide/instancedata-data-retrieval.html
external_url 'https://your_domain'
...
Next, find the letsencrypt['contact_emails'] setting. If you’re using nano, you can enable a search prompt by pressing ESC + /
Write letsencrypt['contact_emails'] into the prompt, then press ENTER. This setting defines a list of email addresses that the Let’s Encrypt project can use to contact you if there are problems with your domain. It’s recommended to uncomment and fill this out to inform yourself of any issues that may occur:
letsencrypt['contact_emails'] = ['mrcloudbookexample.com']
Once you’re done making changes, save and close the file.
Run the following command to reconfigure GitLab:
sudo gitlab-ctl reconfigure

This will initialize GitLab using the information it can find about your server. This is a completely automated process, so you will not have to answer any prompts. The process will also configure a Let’s Encrypt certificate for your domain.
Performing Initial Configuration On The Web Interface
With GitLab running, you can perform an initial configuration of the application through the web interface.
Logging In For The First Time
Visit the domain name of your GitLab server in your web browser:
https://your_domain
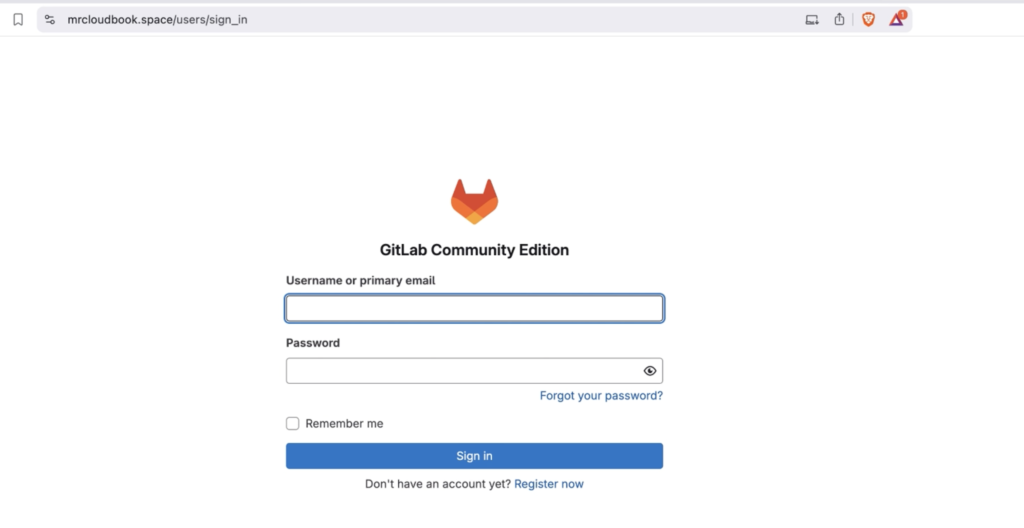
On your first visit, you’ll be greeted with a login page:

GitLab generates an initial secure password for you. It is stored in a folder that you can access as an administrative sudo user:
sudo cat /etc/gitlab/initial_root_password
Back on the login page, enter the following:
- Username: root
- Password: [the password listed on
/etc/gitlab/initial_root_password]
Enter these values into the fields and click the Sign in button. You will be signed in to the application and taken to a landing page that prompts you to begin adding projects:

You can now fine tune your GitLab instance.
You can watch full video on Mrcloudbook channel

Leave a Reply