What is JFrog Artifactory?
Artifactory is a universal DevOps solution for hosting, managing, and distributing binaries and artifacts. Any type of software in binary form - such as application installers, container images, libraries, configuration files, etc. - can be curated, secured, stored, and delivered using Artifactory.
The name “Artifactory” reflects the fact that it can host any type of “artifact” needed in your software development “factory.” In software development, an artifact is any object produced during the software development and delivery process. Artifacts include the files used to install and run applications, as well as any complementary information necessary to configure or manage software.
Artifactory serves as the central hub for your DevOps processes. All artifacts, dependencies, packages, etc. ultimately get put into and pulled from Artifactory.
INSTALLATION
To launch an Ubuntu instance with a t2.medium instance type on AWS, follow these condensed steps:
-
Login to AWS Management Console and navigate to the EC2 Dashboard.
-
Click “Launch Instance”, then select an Ubuntu Server AMI from the list.
-
Choose “t2.medium” as the instance type and click “Next: Configure Instance Details”.
-
Configure instance details as needed, then click through “Add Storage”, “Add Tags”, and “Configure Security Group” with your desired settings or defaults.
-
Review your settings and click “Launch” to create your Ubuntu instance.
INSTALL JAVA
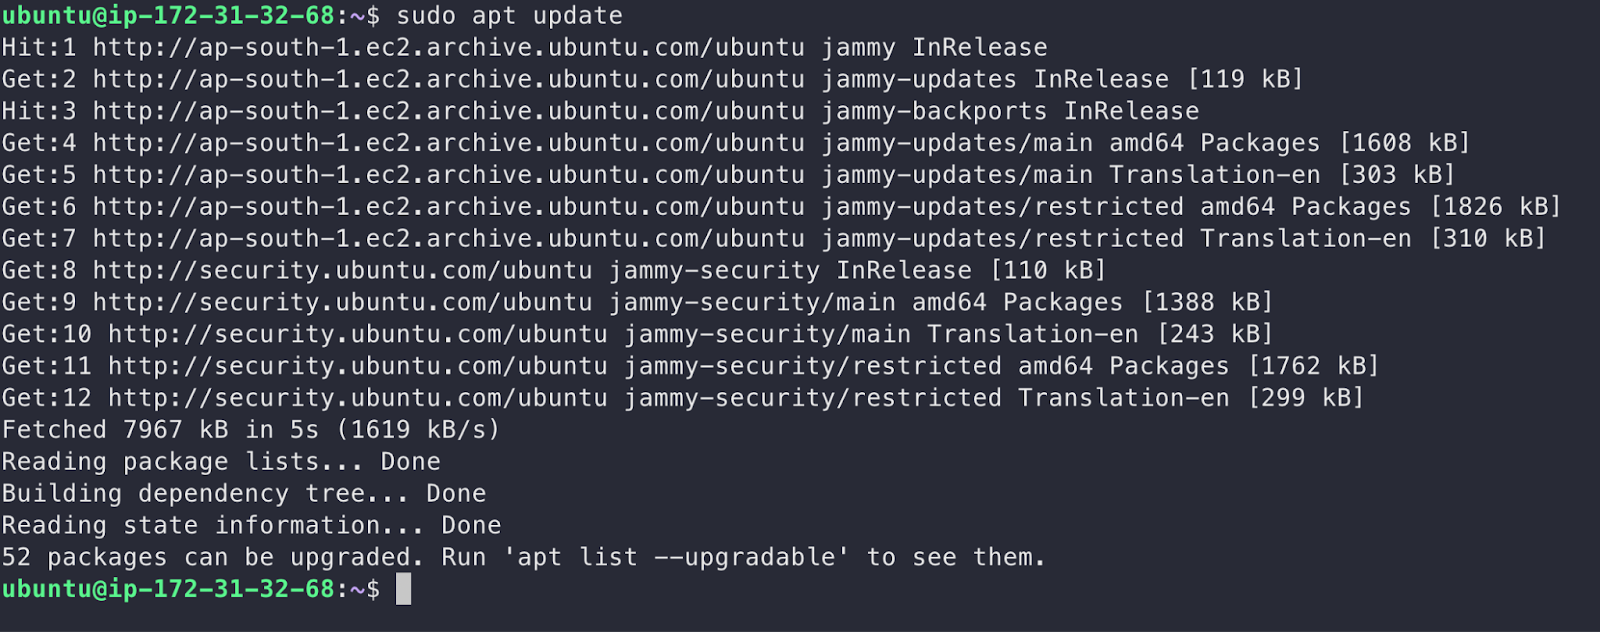
Connect to Your server using Mobaxterm or Terminal
sudo apt-get update
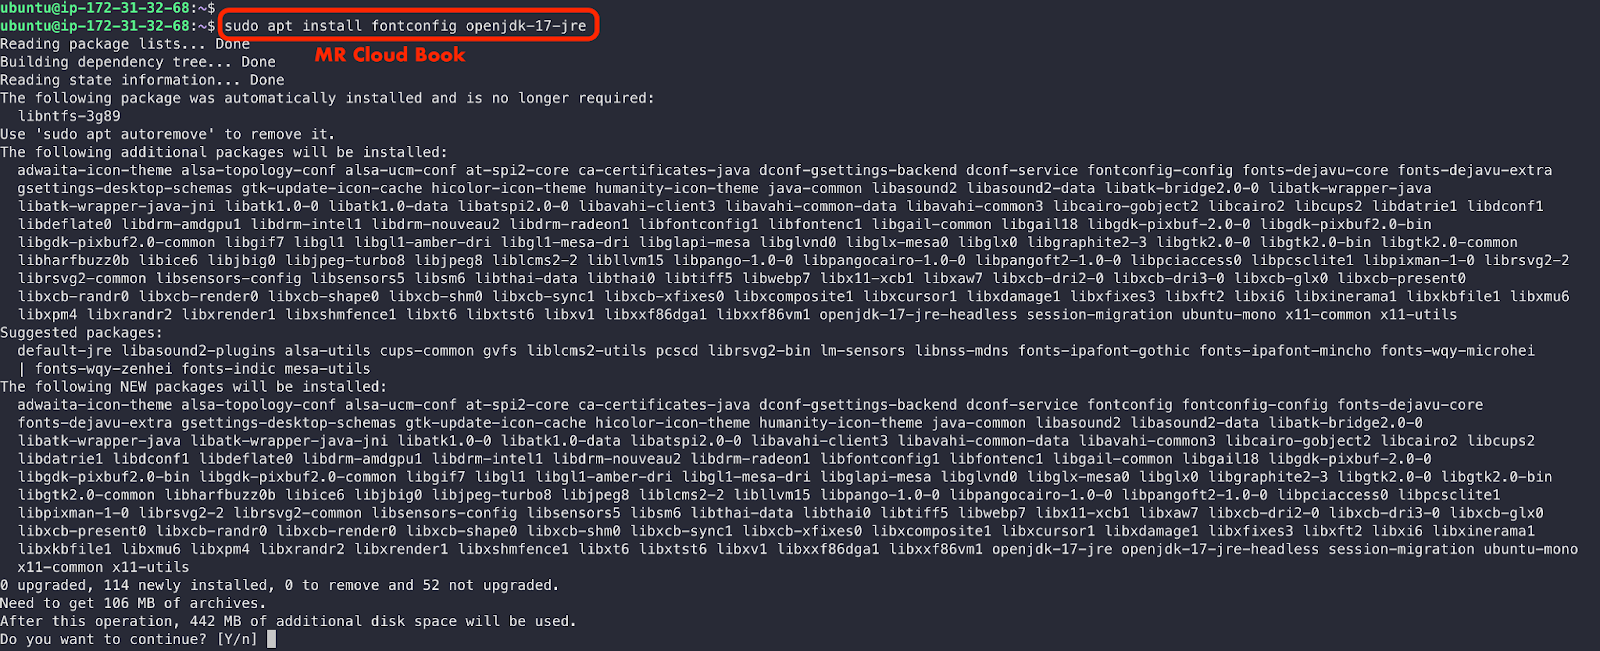
Install java on the server
sudo apt install fontconfig openjdk-17-jre -y
java --version
Fetch and add the JFrog public GPG key
wget -qO - https://releases.jfrog.io/artifactory/api/gpg/key/public | sudo apt-key add -
NOTE 👍
If you not see OK after running This command, That means Jfrog Changed key so
Don’t say this guide as waste

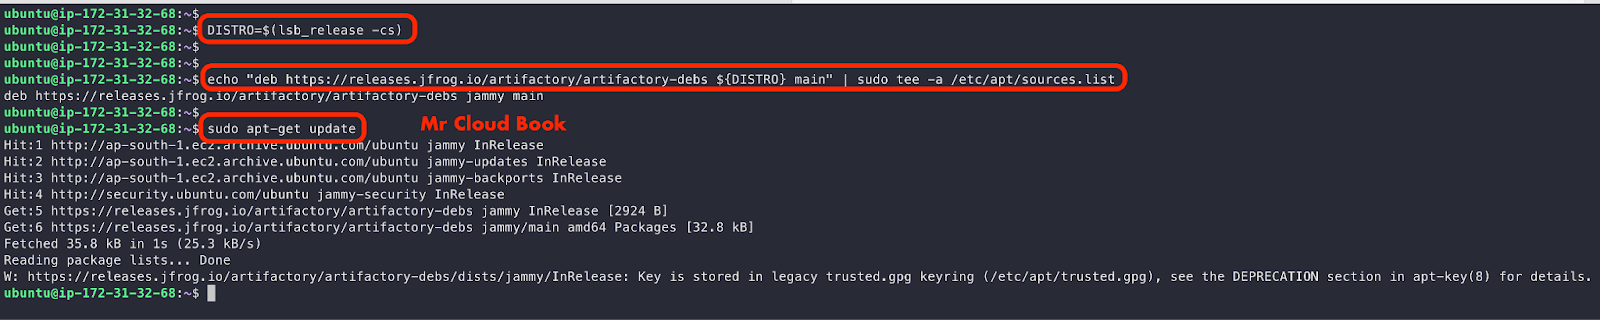
Determine your distribution
DISTRO=$(lsb_release -cs)
Add JFrog Artifactory repository to sources.list
echo "deb https://releases.jfrog.io/artifactory/artifactory-debs ${DISTRO} main" | sudo tee -a /etc/apt/sources.list
Update package lists
sudo apt-get update
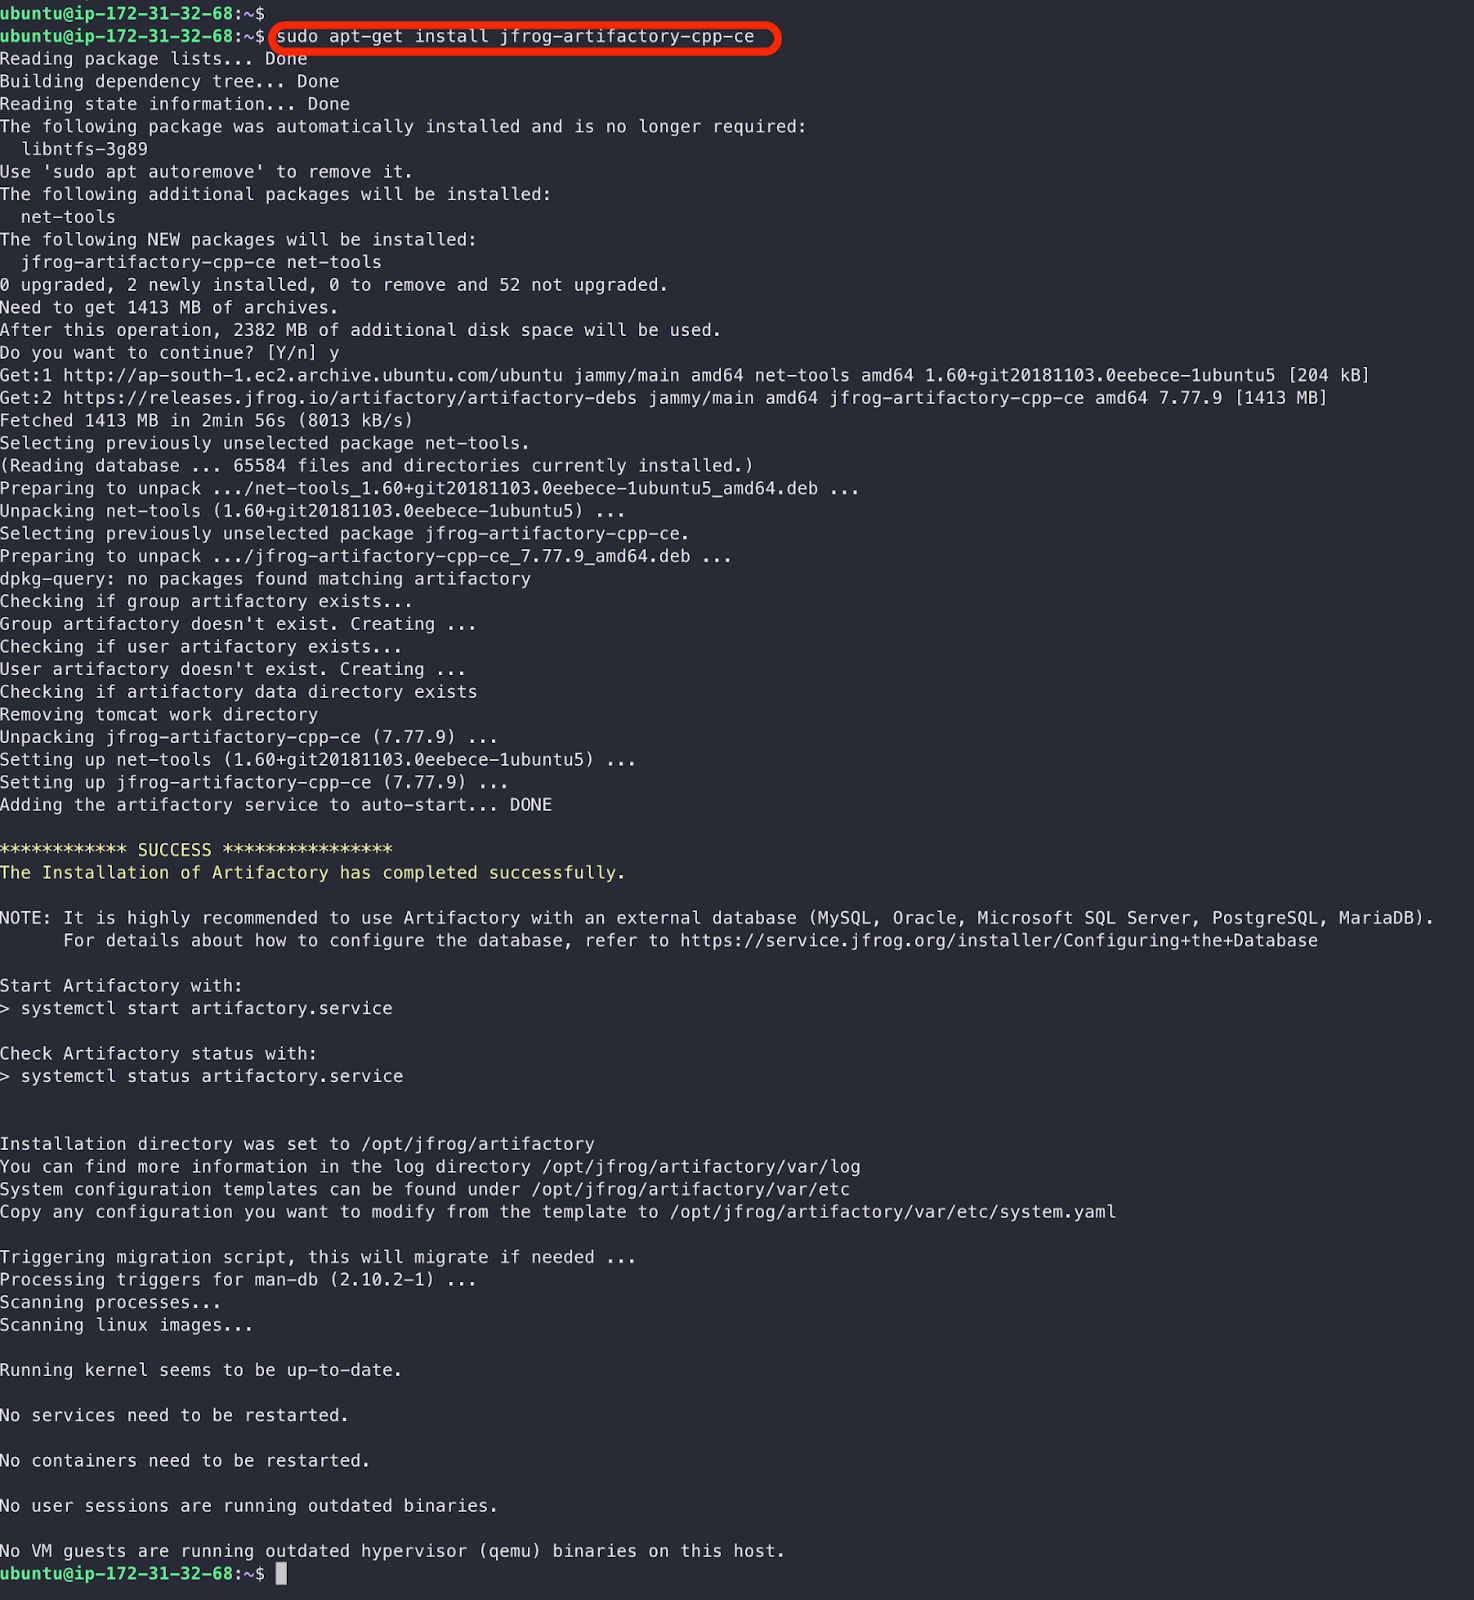
Install JFrog Artifactory C++ CE
sudo apt-get install jfrog-artifactory-cpp-ce -y
Clear Explination of above Script/ Complete script
#!/bin/bash
sudo apt update
# Fetch and add the JFrog public GPG key
wget -qO - https://releases.jfrog.io/artifactory/api/gpg/key/public | sudo apt-key add -

# Determine your distribution

# Add JFrog Artifactory repository to sources.list
echo "deb https://releases.jfrog.io/artifactory/artifactory-debs ${DISTRO} main" | sudo tee -a /etc/apt/sources.list

# Update package lists
sudo apt-get update

# Install JFrog Artifactory C++ CE
sudo apt-get install jfrog-artifactory-cpp-ce -y
Access in WebBrowser
Copy the public Ip of server and open port 8081 and 8082
Username : admin
Password : password
Click on Login
Get Started
Next → skip → skip →
Comments (0)
No comments yet. Be the first to share your thoughts.
Leave a comment