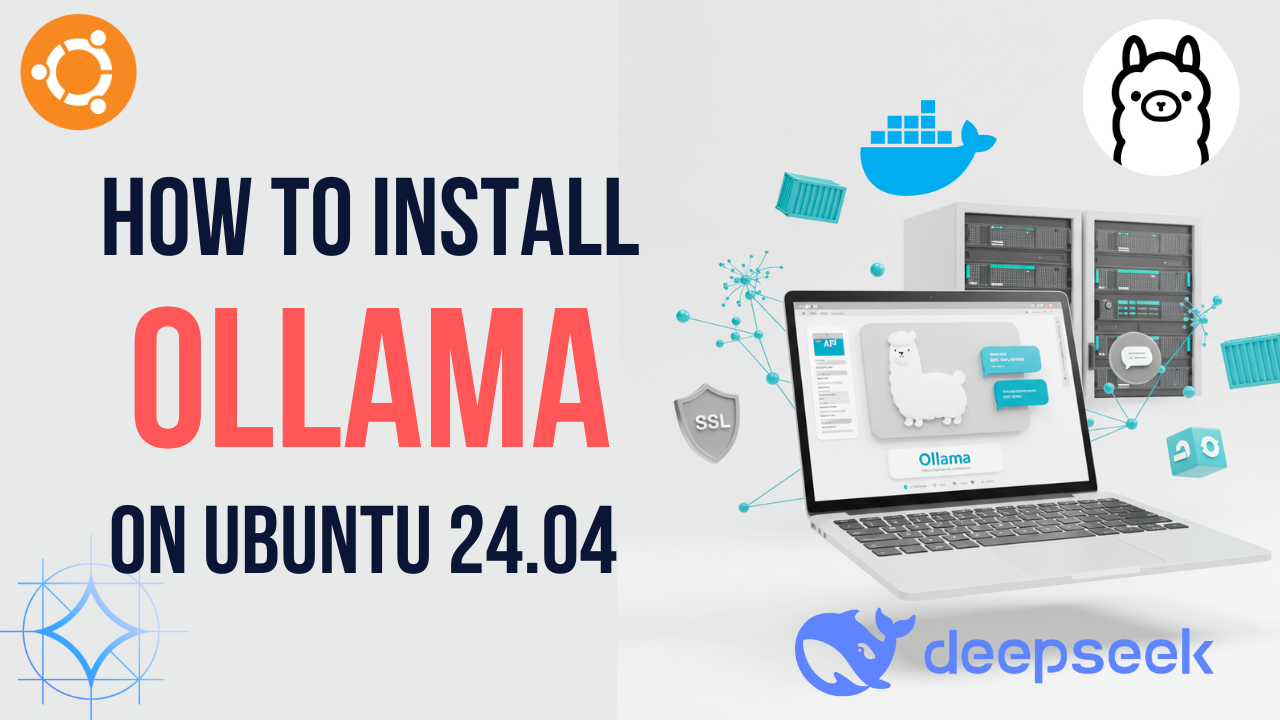
Have you ever wanted your own AI assistant that you control completely? One that lives on your own server, accessible from anywhere in the world through your own domain name? After experimenting with various setups, I’ve created a reliable configuration that I’m excited to share with you today.
In this guide, I’ll walk you through setting up Ollama (an incredible tool for running AI models locally) with a beautiful web interface, all protected with proper SSL encryption. By the end, you’ll have your own AI playground that you can access from any device, anywhere.
What You’ll Need
Before we dive in, make sure you have
- A Linux server (I’m using Ubuntu 24.04, but other distributions work fine)
- A domain name pointed to your server’s IP address
- At least 8GB of RAM (16GB+ recommended for larger models)
- Basic familiarity with the command line
This setup is perfect if you’re concerned about privacy with commercial AI services or just want the freedom to experiment with different models on your own terms.
sudo apt update
Getting Started: Installing Docker
Everything in our setup will run in containers, so Docker is essential. Here’s how to install it cleanly:
# Add Docker's official GPG key:
sudo apt-get update
sudo apt-get install ca-certificates curl
sudo install -m 0755 -d /etc/apt/keyrings
sudo curl -fsSL https://download.docker.com/linux/ubuntu/gpg -o /etc/apt/keyrings/docker.asc
sudo chmod a+r /etc/apt/keyrings/docker.asc

# Add the repository to Apt sources:
echo \
  "deb [arch=$(dpkg --print-architecture) signed-by=/etc/apt/keyrings/docker.asc] https://download.docker.com/linux/ubuntu \
  $(. /etc/os-release && echo "${UBUNTU_CODENAME:-$VERSION_CODENAME}") stable" | \
  sudo tee /etc/apt/sources.list.d/docker.list > /dev/null
sudo apt-get update

sudo apt-get install docker-ce docker-ce-cli containerd.io docker-buildx-plugin docker-compose-plugin -y
sudo usermod -aG docker ubuntu
newgrp docker
You can verify everything installed correctly with:
docker --version
docker compose --version
If both commands return version information, you’re good to go
Creating Our Project Structure
I like to keep things organized, so let’s create a dedicated directory:
mkdir ollama
cd ollama
This will be our project’s home where we’ll store all configuration files.
Setting Up Our Services with Docker Compose
Now for the heart of our setup - creating a Docker Compose configuration that ties everything together. Create a new file:
vi docker-compose.yml
Then paste in this configuration:
version: '3.8'

services:
  ollama-webui:
    image: ghcr.io/ollama-webui/ollama-webui:main
    container_name: ollama-webui
    restart: always
    expose:
      - "8080"
    environment:
      - 'OLLAMA_API_BASE_URL=http://ollama:11434/api'
      - 'WEBUI_AUTH=false'  # Set to true if you want authentication
    depends_on:
      - ollama

  ollama:
    image: ollama/ollama:latest
    container_name: ollama
    restart: always
    expose:
      - "11434"
    volumes:
      - ollama_data:/root/.ollama
    command: serve

  https-portal:
    image: steveltn/https-portal:1
    ports:
      - '80:80'
      - '443:443'
    environment:
      DOMAINS: 'your-domain.com -> http://ollama-webui:8080'
      STAGE: 'production' # Uncomment for production
    volumes:
      - https-portal-data:/var/lib/https-portal
    depends_on:
      - ollama-webui

volumes:
  ollama_data:
  https-portal-data:
Make sure to replace **your-domain.com** with your actual domain name!
Let me explain what each service does:
- Ollama: This is the engine that runs the AI models locally
- Ollama-webui: Provides a sleek interface to interact with your models
- HTTPS-Portal: Handles SSL certificates automatically and routes traffic securely
I love this setup because it handles all the complex parts for you - no need to manually configure Nginx or mess with certbot for SSL certificates.
Launching the Services
With our configuration ready, let’s bring everything online:
docker compose up -d
The -d flag runs everything in the background. The first time you run this, Docker will download the necessary images which might take a few minutes depending on your internet connection.
You can check if everything is running with:
docker ps
You should see all three containers up and running.
Accessing Your New AI Assistant
Now comes the exciting part! Open your web browser and navigate to your domain (https://your-domain.com).
The first time you access it, you might see a security warning because HTTPS-Portal initially creates test certificates. Don’t worry - we’ll fix this in a moment.
If everything worked correctly, you should see the Ollama WebUI interface. Pretty slick, right?
Adding AI Models to Your Server
Your AI assistant needs a brain, so let’s add some models. You can do this through the WebUI by:
- Clicking on the “Models” tab in the interface
- Clicking the “+” button to browse available models
- Selecting a model to download
If you prefer the command line, you can pull models directly:
docker exec -it ollama ollama pull llama3
To see what models you have installed:
docker exec -it ollama ollama list
And if you need to free up space, remove models with:
docker exec -it ollama ollama rm model-name
I recommend starting with smaller models like llama3 or mistral if your server has limited RAM. They’re quite capable and won’t crash your system.
This tells HTTPS-Portal to request real SSL certificates from Let’s Encrypt. After a minute or two, your site should be fully secured with a proper certificate.
Working with Your AI Assistant
Now the fun begins! You can:
- Create multiple chat sessions with different models
- Adjust parameters like temperature to control creativity
- Save your favorite prompts as templates
- Upload files for your AI to analyze (depending on the model)
I’ve found smaller models like Llama3 work surprisingly well for many tasks, while larger models can handle more complex requests but require more server resources.
Troubleshooting Tips
If you run into any issues, here are some handy troubleshooting steps:
Check container logs:
docker logs ollama
docker logs ollama-webui
docker logs https-portal
Common issues include:
- Models failing to load (usually means insufficient RAM)
- SSL certificate problems (check your domain’s DNS settings)
- Connection timeouts (patience - model loading can take time)
**
Keeping Things Secure**
Since this setup is accessible from the internet, consider these security measures:
- Enable authentication by setting
WEBUI_AUTH=truein the docker-compose.yml - Set up a firewall to limit access to your server
- Keep your containers updated.
Final Thoughts
Having my own AI assistant has been a game-changer for my workflow. It gives me the freedom to try different models without subscription fees, maintain control over my data, and access AI capabilities from any device.
The best part is that once it’s set up, it’s relatively low maintenance. You can easily update to newer models as they’re released, and the configuration is flexible enough to adapt as your needs change.
I’d love to hear about your experience setting this up and what you’re using your personal AI assistant for. Drop a comment below or reach out if you have any questions!
Happy AI experimenting!
Comments (0)
No comments yet. Be the first to share your thoughts.
Leave a comment