DigitalOcean offers students an incredible opportunity to learn and experiment with cloud infrastructure using a $200 credit through the Developer Pack. Kubernetes, an open-source platform for container orchestration, allows you to automate application deployment, scaling, and management. With this guide, you’ll quickly set up a Kubernetes cluster on DigitalOcean and start exploring its potential.
Step 1: Claim Your $200 DigitalOcean Credit
Free referal : https://m.do.co/c/55744296f132
Watch video : https://youtu.be/Nqi57ct1BNo
Once done click on Get Started

Select Sign Up with Google
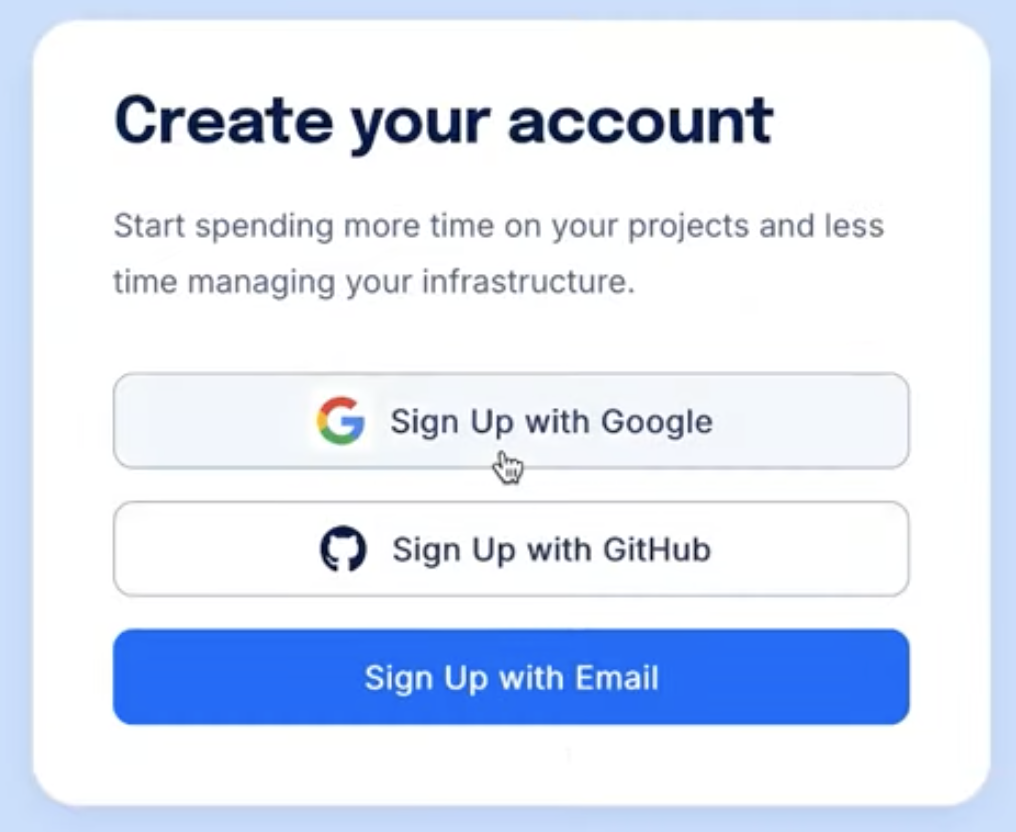
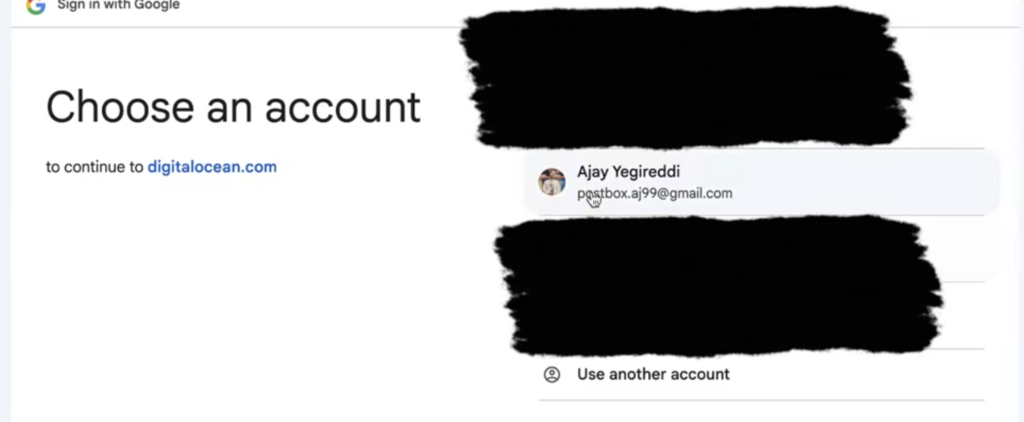
Select Your Gmail for your Digital ocean account
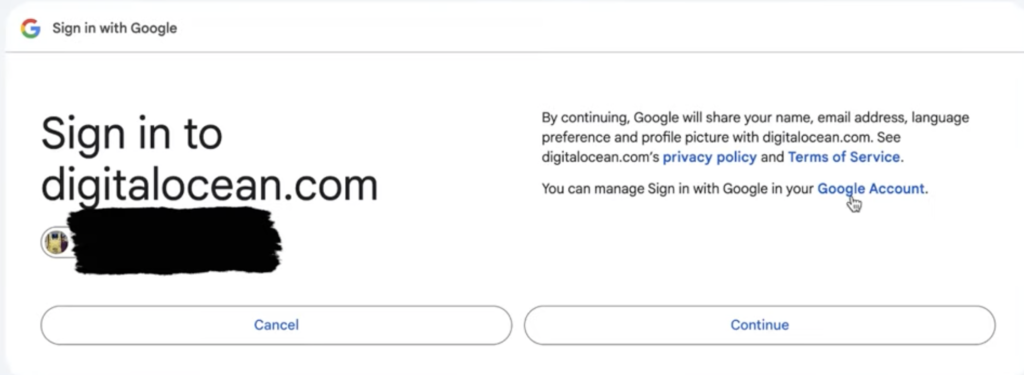
Click on Continue
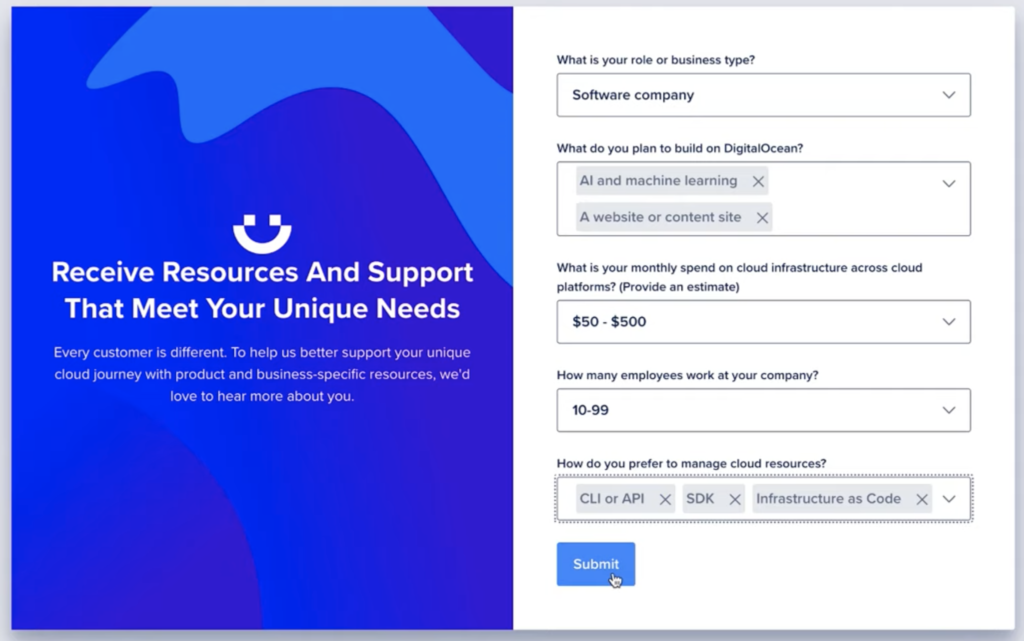
Enter the required details and Click On Submit
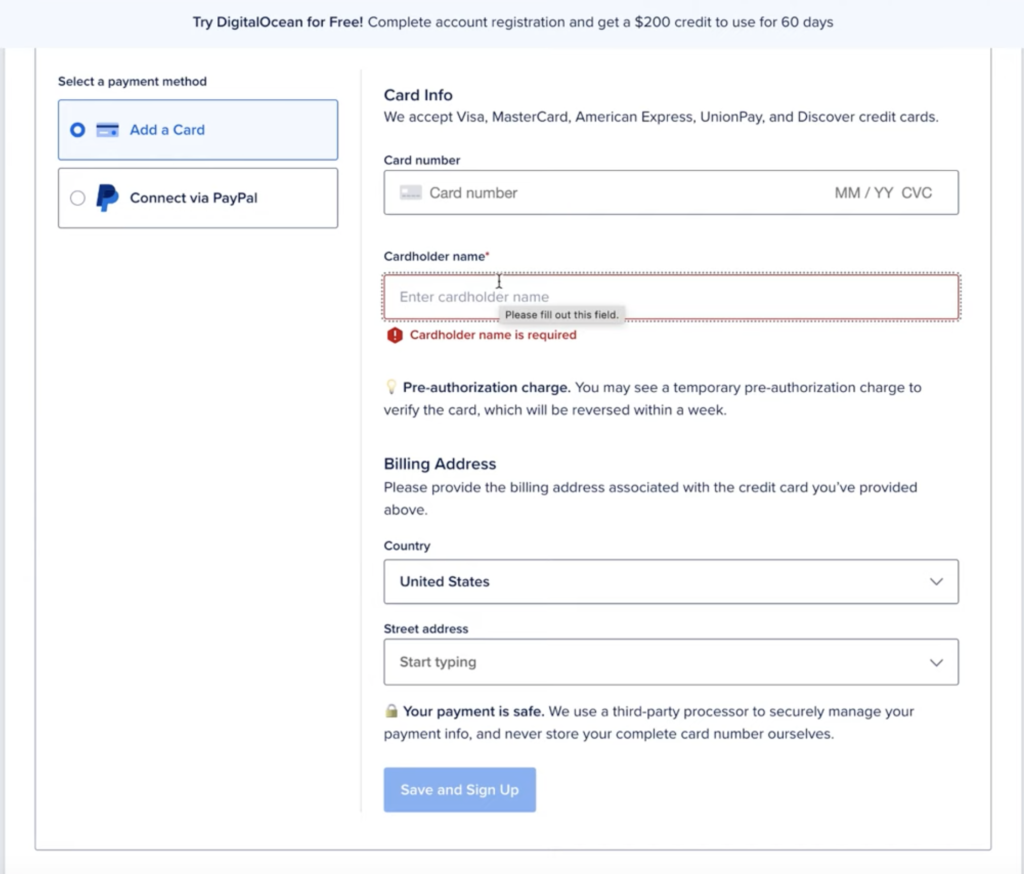
Enter Your Credit / Debit card details for Just confirmation and you have to pay amount for confirm and you will be refunded back with in next minute.
Save and SignUp
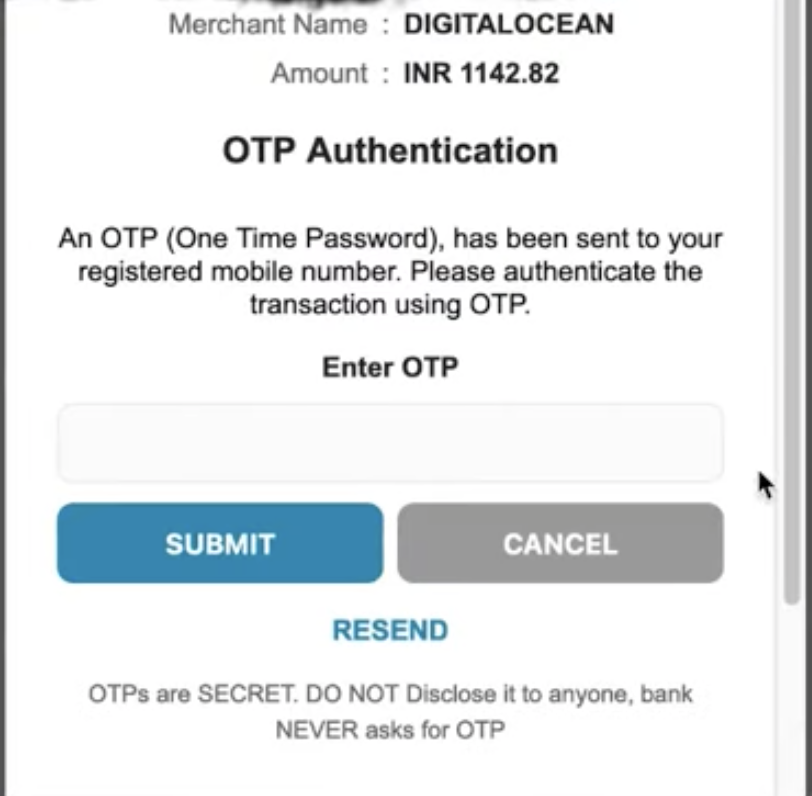
Enter OTP
Once done your account will be created
Click On Explore Our Control Plane

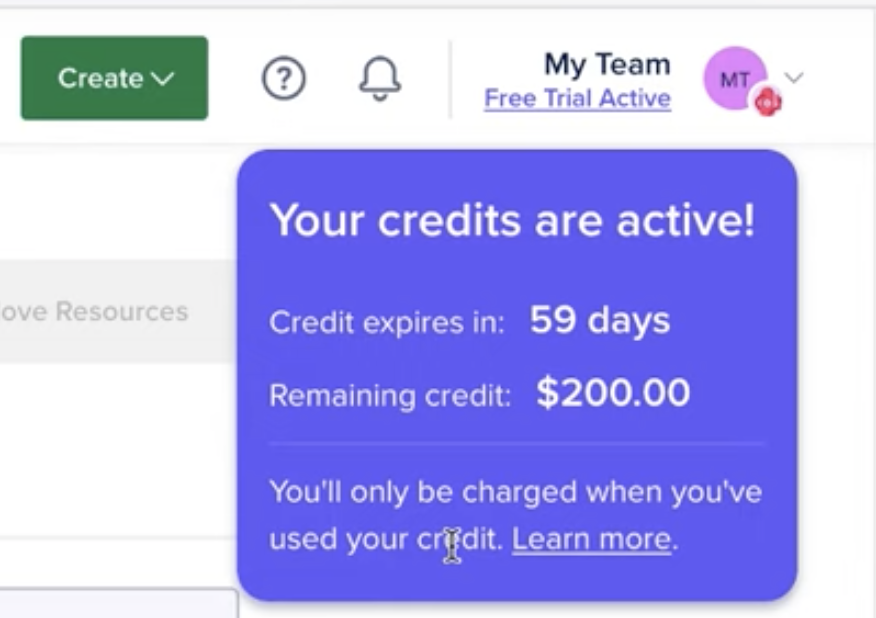
And you will get Credits here on top right
Step 2: Set Up Your Kubernetes Cluster
With your credit active, it’s time to configure your Kubernetes cluster:
1. Log in to the DigitalOcean Control Panel
After logging in, navigate to the Kubernetes section in the control panel.
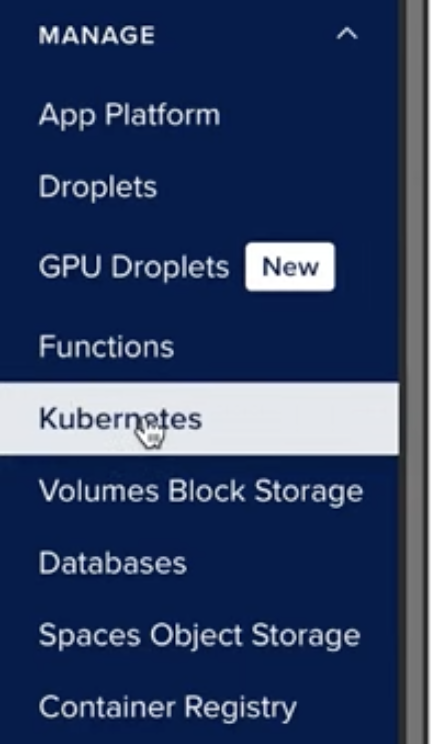
Click the “Create Kubernetes Cluster” button and configure the following:
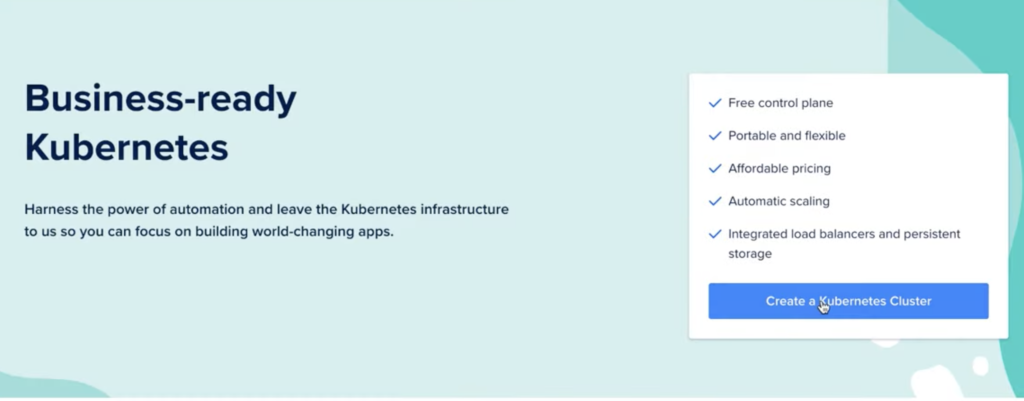
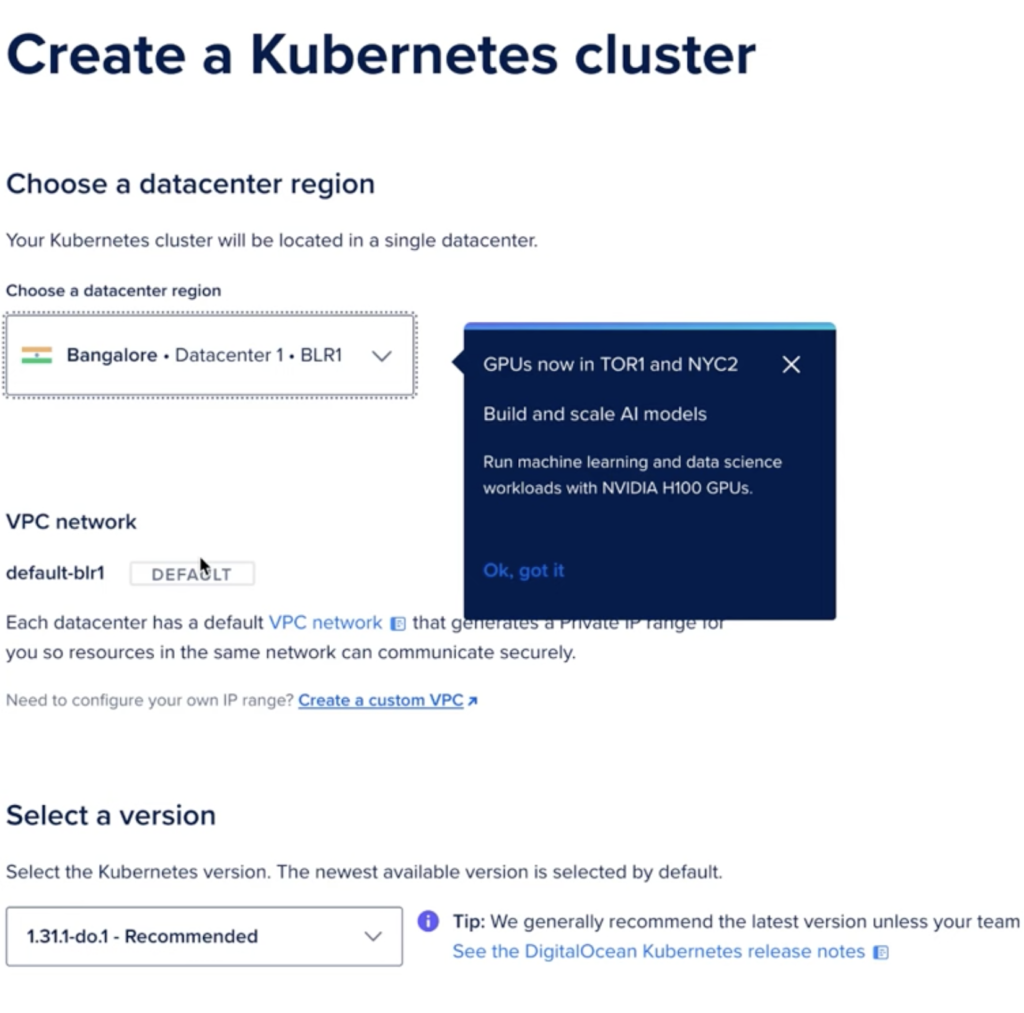
- Select Region: Choose a data center region closest to your users or team for optimal performance.
- Choose Kubernetes Version: Pick the latest stable Kubernetes version to access the newest features and improvements.
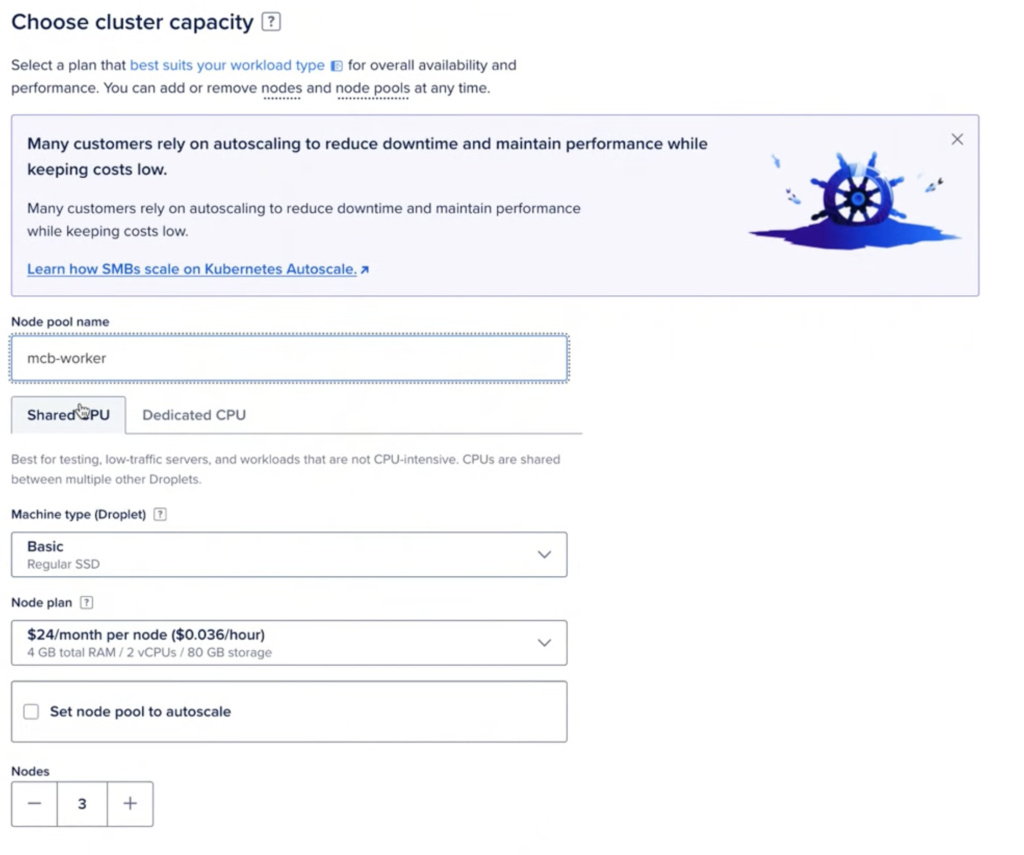
Choose Node Plan: To stay within your credit:
- Select a Basic Droplet plan (e.g., 2 GB RAM, 1 vCPU).
- Start with a minimum of 2-3 nodes, sufficient for development and testing purposes.
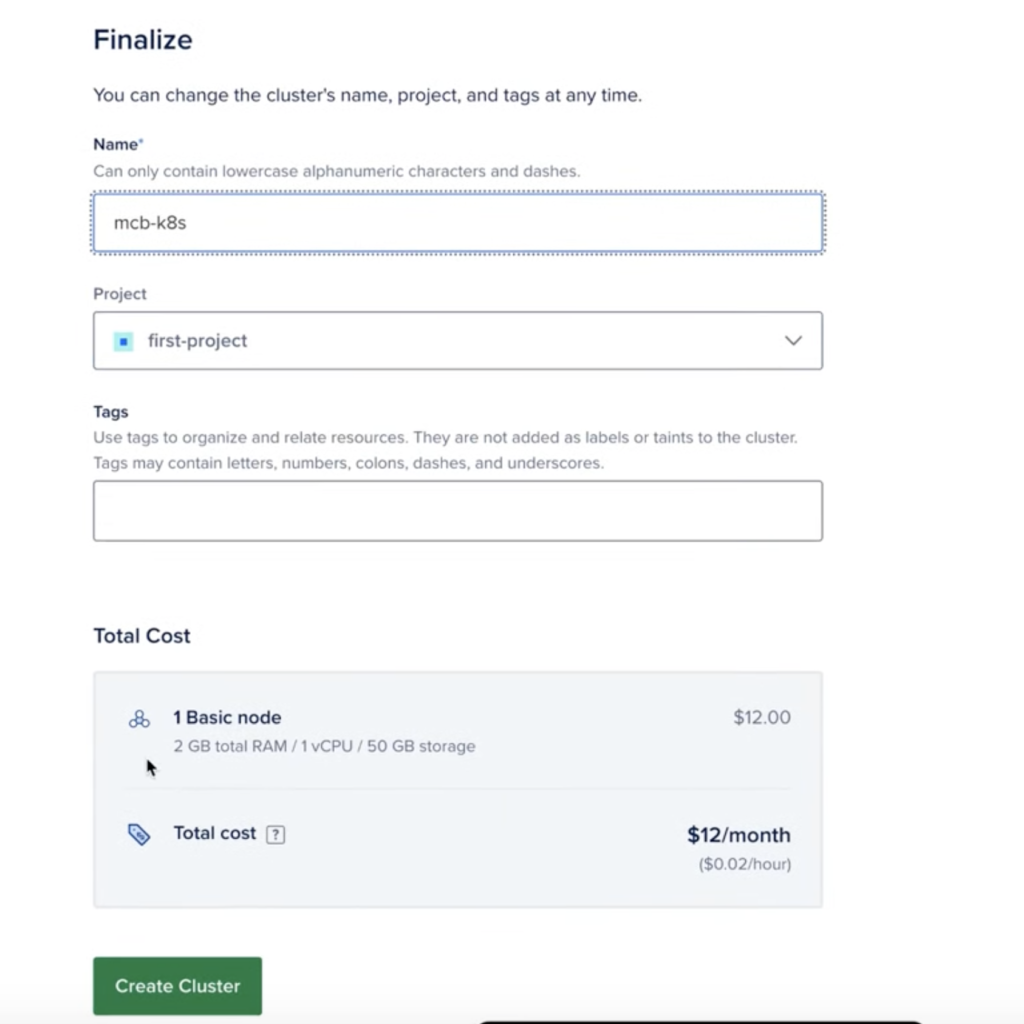
Name your cluster, review the settings, and click “Create Cluster.”
DigitalOcean will take a few minutes to provision your cluster.
Once your cluster is ready, you’ll need to connect to it locally to manage deployments:
Click on 2. Connecting to Kubernetes
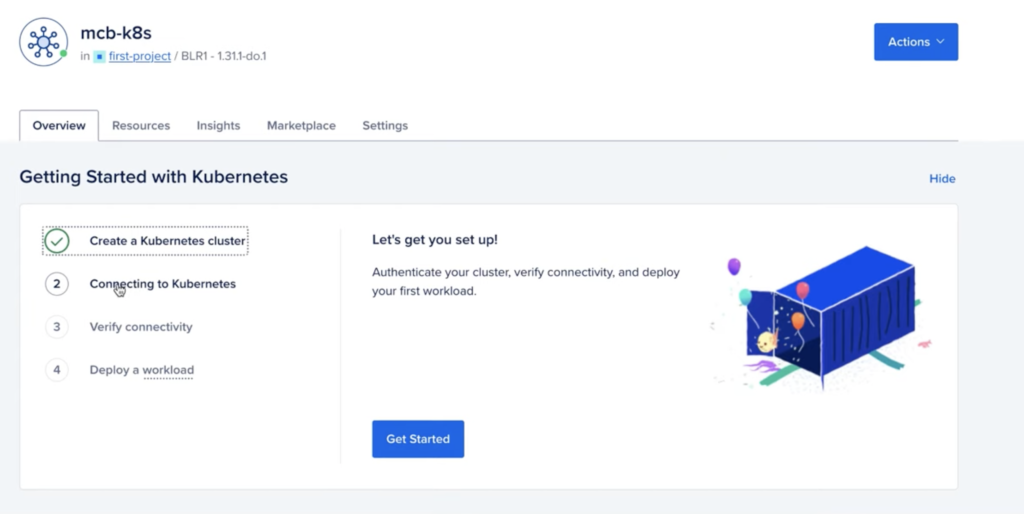
Download the Cluster Configuration:
Retrieve the configuration file for your cluster:
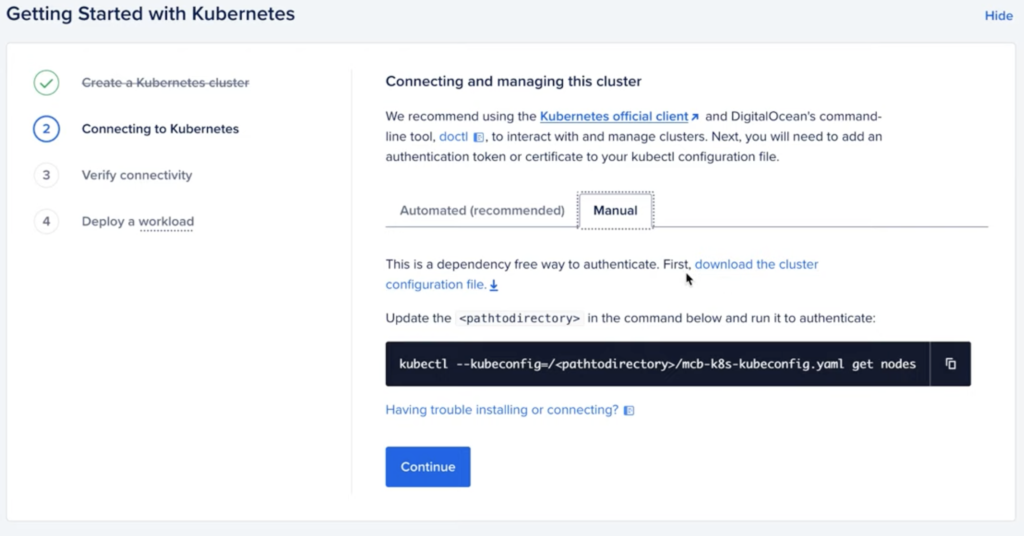
Install Kubectl
Verify Connection:
Test the connection to your cluster:
kubectl get nodes
Leave a Reply